Non GFCI Outlet Not Working in RV | Troubleshooting Tips & Precautions
Imagine awakening one fine morning, brewing your ritual dose of coffee only to find the kitchen outlets in your recreational vehicle dead and unresponsive. No matter how hard you try, the outlets refuse to power appliances crucial for your off-grid morning brew!
Non-GFCI outlets are regular receptacles lacking integrated circuitry for ground fault protection. These are generally found in less moisture-prone indoor locations like bedrooms or kitchen countertops operating lighting, fans, or small appliances. Failure of such outlets fails critical utilities especially when dry camping, besides posing electrocution and fire hazards from potential wiring faults. Identifying the exact cause methodically assumes priority before assuming repairs or replacement.
As an avid RV enthusiast and electrical DIYer, I have tackled such peculiar outlet outages multiple times. This article details a systematic troubleshooting approach for non-GFCI outlets inexplicably not working despite untouched breakers and shore power connections.
External Power Supply Issues
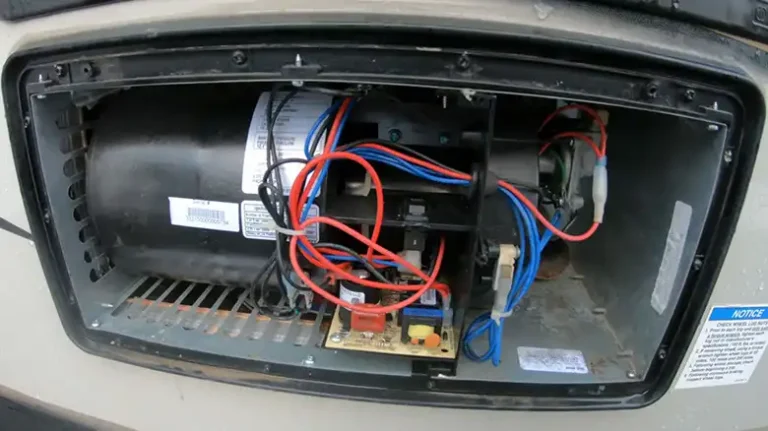
Before troubleshooting dead outlets, understanding typical RV electrical wiring proves useful. The shore power inlet feeds a distribution panel with multiple branch circuits secured by individual breakers. One or more branch circuits route through the wall via 14 AWG copper wires to wire individual 115v AC non-GFCI outlets parallel down the chain. GFCI outlets connect to separate grounded 15A breaker lines for power+ protection.
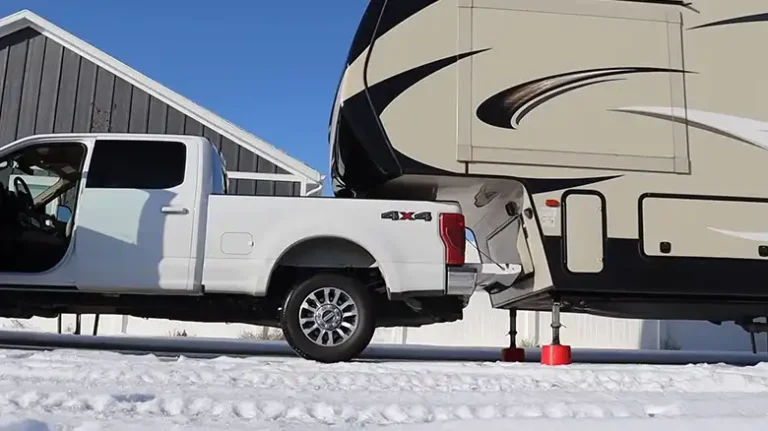
Assuming the RV relies on external shore power, outages commence investigations at the power pedestal:
Tripped Breakers
Overloaded branch circuits trip the breaker without affecting parallel branches. Resetting tripped breakers corresponding to the kitchen or bedrooms restores power. Note any consistent trippings requiring appliance relocation to prevent outages.
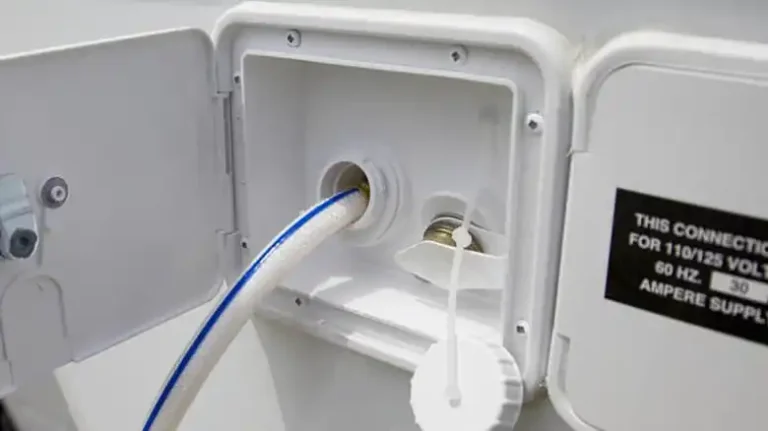
Damaged Shore Cord
Frayed, cracked portions on the shore power cord prevent clean power transfer to receptacles through intermittent contact. Replace damaged portions or entire cord if degradation exists.
Campground Power Fluctuations
Consult park authorities if voltage fluctuations or interruptions coincide with entire campsite outages. Wiring faults on their supply lines also manifest as internal RV outlet failure.
Internal Wiring And Component Faults
After eliminating external power issues, systematic checks inside the RV follow:
GFCIs Trigger Downstream Blackout
GFCI outlets placed sporadically act as protection devices for everything connected downstream. Kitchen outlets may receive GFCI protection from an upstream bathroom outlet unexpectedly tripping from moisture ingress. Press the prominent reset buttons on all accessible GFCIs before further troubleshooting.
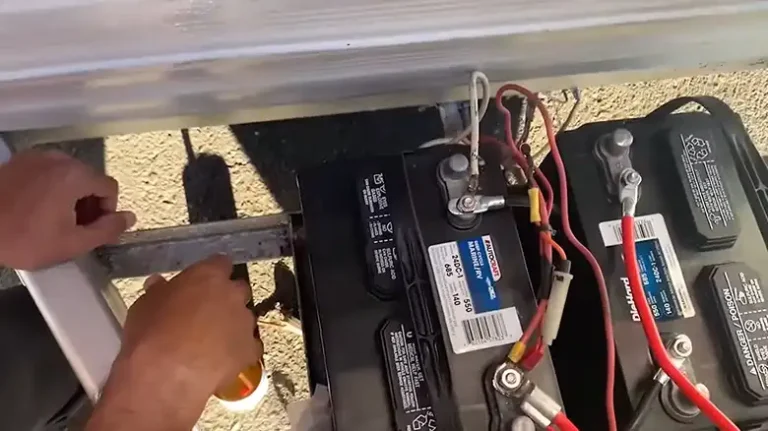
Loose Wire Connections
Vibration from travel jostles internal wiring with screw-terminal contacts loosening over time. Dirty, oxidized connections also impede stable power transfer to outlets eventually. Meticulously check the snugness of all neutral, ground, and hot wires securing various outlets and the distribution panel connections needing tightening.
Outlet Wear And Tear
Directly plugging appliances into worn-out non-GFCI outlets risks safety besides operational headaches. Inspect closely for discolored plug face, cracked casing, or burn marks indicating heat damage needing immediate replacement. Consider proactively replacing outlets experiencing 10+ years of regular usage suggested by manufacturers.
Inverter Charger Irregularities
RV outlets rely on either external shore power or an internal 12v DC supply stepped up by a power inverter and charger combo unit. Failure of either manifests as partial or complete AC outlet outages. Inspect LCD readouts on installed units for error indications needing reset procedures mentioned in your user manual.
How Do You Troubleshoot Your Non-active Non-GFCI Outlet?
Dealing with electrical faults risks shocks and shorts if handled casually. Put on certified electrician gloves, and goggles and switch OFF shore power at source before handling outlets and wiring. Use non-contact voltage testers to safely verify electricity flow and troubleshoot issues from dead outlet by dead outlet methodically. Roping in certified electricians is highly recommended when handling complex wiring faults exceeding DIY comfort zones. Then –
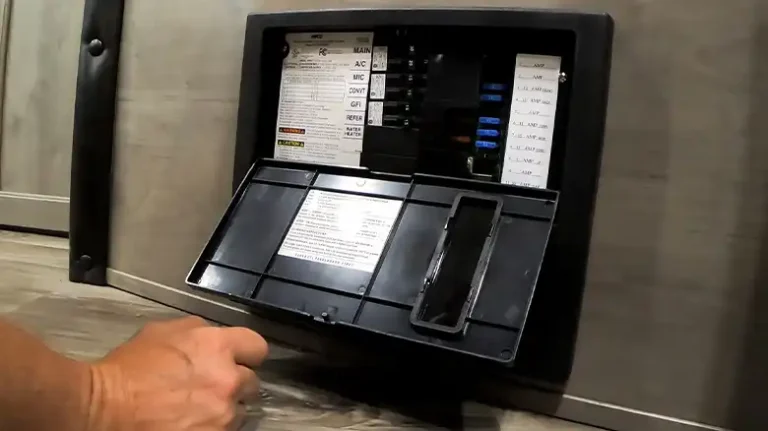
Check the Power Supply At the Electrical Panel
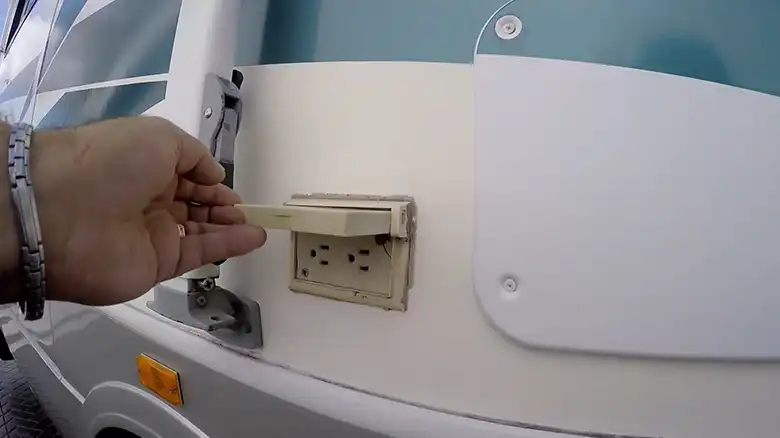
Verify shore power connections work and inspect the main breaker at the RV electrical panel for any trips. Resetting allows ruling out primary issues:
Tripped Breakers – Overloaded branch circuits trip corresponding breakers without affecting parallel branches. Note any consistent trippings requiring appliance relocation.
Shore Power Issues – Consult campsite authorities if low voltage or interruptions coincide with outages. Fix any loose wiring on external post/pedestal connections.
Damaged Shore Cord – Frayed, cracked portions prevent clean power transfer intermittently. Replace aged portions or entire cord promptly.
Verify Voltage At Every Outlet
Use a neon circuit tester plugged into each non-working outlet checking for electricity flow room-by-room. No light indicates the corresponding GFCI/Breaker reset, damaged wiring, or component failure mid-circuit.
Reset GFCIs Protecting Circuit
GFCIs placed sporadically act as protection devices for everything connected downstream. Kitchen outlets may receive GFCI protection from an upstream bathroom outlet unexpectedly tripping from moisture ingress. Press prominent reset buttons on all accessible GFCIs before further troubleshooting.
Examine Wiring For Damage
Gently wiggle wires near offending outlet junction boxes to check for intermittent contact. Investigate any color change or insulation cracks threatening internal copper exposure. Measure resistance reading significantly higher than comparable runs to pinpoint degradation needing replacement.
Test For Faulty Terminations
Loose screw terminals, aged splices inside boxes frequently plague old RVs. Unscrew to systematically check snugness off all neutral, ground, and hot junctions. Clean using emery cloth; replace disintegrated wire nuts, splices, and terminals for a reliable connection.
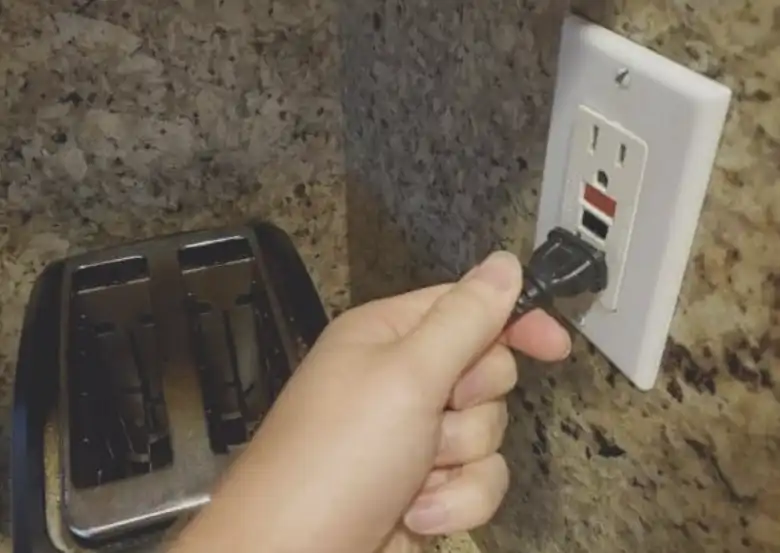
Plug-in Appliance Directly Into Outlet
Bypassing power strips for direct outlet access helps determine internal wear and tear. Discolored plug face, cracked casing, or burn marks indicate heat damage needing immediate replacement. Consider proactively changing outlets experiencing 10+ years of regular usage suggested by manufacturers.
Inspect Power Inverter Condition
RV outlets rely either on external shore power or an internal 12v DC supply stepped up by a power inverter. Failure of either manifests as partial or complete AC outlet outages. Inspect LCD readouts on installed units for error codes needing specific troubleshooting mentioned in its user manual.
NOTE: It’ll be better to seek professional help if outlet issues persist despite methodically checking wiring conditions and components. Advanced diagnostic tools and experience tracing unseen junction faults invest worthwhile long-term. Certified technicians also ensure repairing issues according to the latest guidelines improving safety.
Prevention Is Always Better
Proactively checking terminals, GFCI operation, and inspecting visible wiring every year dramatically reduces unexpected outlet failures. Investing in surge-protected power strips prevents connected appliance circuitry damage from erratic campsite power. Maintaining the right tools like voltage testers, and outlet testers regularly guarantees self-reliance in handling basic electrical troubleshooting during breakdowns on the road.
Frequently Asked Questions
Why do only some outlets stop working randomly despite a common power source?
Different outlets in an RV connect downstream from distinct GFCI outlets or breakers. Specific GFCIs tripping or breakers overloading disables that branch alone. Methodically check which path each outlet relies on using wiring schematics before generalizing the root cause.
The outlet in my RV stumbles working only when the plug is inserted at a certain angle. What to do?
Improper contact tightness or worn-out terminals manifest as angle-sensitive outlets requiring appliance re-plugging attempts for operation. DIYers can dismantle to thoroughly clean corroded terminals using sandpaper and tighten side screws flawlessly. However, replacing decade-old outlets fully is the safer choice limiting risks of loosened screws shorting over time.
Can I upgrade non-GFCI outlets in an RV myself with GFCI types for extra protection?
Converting ordinary outlets to GFCI involves correctly wiring the additional ground terminal needing basic electrical skills. Alternatively, install a GFCI outlet at the first receptacle location on the circuit to protect everything downstream per code without re-wiring each outlet. And yes, hiring certified electricians minimizes the chances of unsafe DIY attempts overloading RV circuits.
In Closing
In summary, systematic checks isolating external power issues before inspecting internal wiring or hidden GFCI triggers help efficiently troubleshoot dead non-GFCI outlets in RVs. Seeking professional assistance when problems complexify also minimizes safety risks from uncertainty. Regular inspection and maintenance remain vital for reliable operation during critical off-grid days outdoors. Hope you find the structured troubleshooting blueprint handy in resolving RV outlet issues! Please share any maintenance tips or questions.