
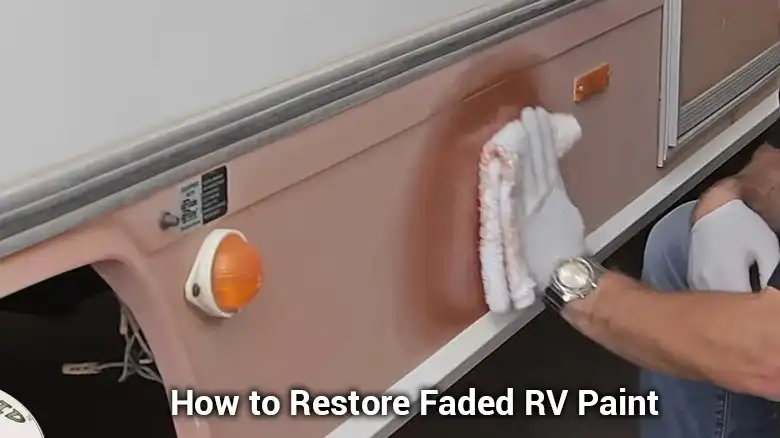
Man, was I bummed when the paint on my RV started looking dull and faded. A total eyesore. But I didn’t just sit around feeling sorry for myself. I dug in and figured out how to restore that fresh, glossy finish.
This guide covers all the reasons why RV paint fades in the first place. Then I’ll break down your best options for bringing it back – polishing, oxidation kits, Polytrol, you name it. Whatever works for your situation. By the time you’re done reading, you’ll know exactly how to make your RV look showroom new again. No more dull and faded, just head-turning shine.
Let’s get into it!
Why Does RV Paint Fade? Key Causes
Just like our skin, RV paint can’t handle too much sun. Over time, the sun’s rays break down the clear coat, the protective layer on top of the paint. As a result, the underlying layer gets damaged and your RV starts fading.
Another culprit is oxidation. This basically means a reaction between the paint and the oxygen in the air. It’s a slow process, but over time, it can also contribute to fading and a chalky appearance.
The good news is that both sun damage and oxidation are treatable. With a little TLC (tender loving care, for those not familiar with the term!), you can bring your RV’s paint back to life and make it shine brighter than a disco ball at a karaoke night.
Best Methods for Restoring Faded RV Paint
Now that we’ve identified the villains behind faded RV paint, let’s explore the restoration options at our disposal. Depending on the severity of the fading and your desired level of effort, you have a few paths to choose from.
Polishing for Mild RV Paint Fading
If your RV’s paint job is suffering from mild fading, a high-quality polish can work wonders. This process involves gently buffing and removing the top layer of oxidation from the paint’s surface, which can restore a nice shine. It’s like giving your RV a mini facial – a little pampering goes a long way!
Polishing is a relatively simple and cost-effective solution for cases where the clear coat is still intact. Just remember to use a polish specifically designed for RVs, as regular car polish might not cut it.
Remember: Always test the polish on a small, inconspicuous area of your RV before applying it to the entire surface. This ensures the polish doesn’t react strangely with your paint.
Using Oxidation Kits for Moderate Fading
For more significant fading or oxidation, an oxidation removal kit might be your best bet. These products are great for oxidation removal, they are easy to use, and offer a convenient solution for restoring your RV’s faded color.
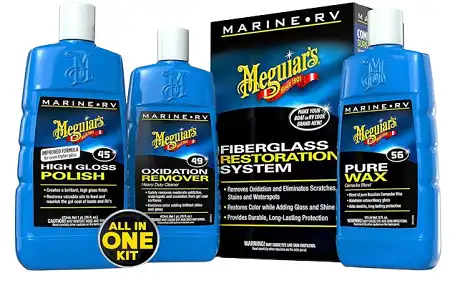
A typical oxidation kit will include
- Oxidation remover: This tackles the oxidation layer, removing that chalky residue and restoring the paint’s clarity.
- Polish: This brings back the shine and luster to your RV’s paint.
- Wax: This adds a protective layer to the paint, helping to prevent future fading.
However, these kits don’t include any kind of applicator or buffing pads. You will need to buy them separately.
When choosing an oxidation kit, consider the severity of the fading, the type of paint on your RV, and whether you plan to apply the products by hand or with a power buffer. Some popular RV-specific oxidation kits include Meguiar’s Marine/RV Fiberglass Restoration System and Max’s RV Heavy Cut Oxidation Remover.
Quick Fixes for Faded Paint with Polytrol
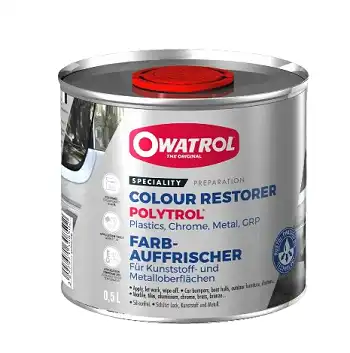
If you’re a fan of the “quick and easy” approach, Polytrol could be your go-to product for mild fading. This versatile compound is like a Swiss Army knife for RV paint – it cleans, conditions, and protects all in one go.
The pros of using Polytrol include its simple application process, effectiveness in mild cases, and its ability to condition and protect the paint after restoration.
However, it’s important to note that Polytrol is not a permanent fix and may not be suitable for severe cases of fading or clear coat damage. It’s like a band-aid solution – good for minor scratches but not quite up to the task of major surgery.
If you decide to go the Polytrol route, the process is straightforward: give your RV a good wash, test the product in an inconspicuous area first, and then apply and buff it onto the faded areas.
General Steps for RV Paint Restoration
Regardless of which restoration method you choose, there are some general steps you’ll need to follow to ensure you get the best results possible. Think of it as your trusty roadmap to a successful paint restoration journey.
- Thorough Washing: First, it’s important to clean your RV thoroughly. So, wash your RV thoroughly with water, you can also use an RV body washer for better cleaning purposes.
- Check the Faded: Take a close look at the faded areas and identify the severity of the fading and any clear coat damage. This will help you choose the appropriate restoration method and avoid any unnecessary headaches down the line.
- Choose Your Restoration Method: Based on the information provided earlier in this article, select the most suitable option for your RV’s paint condition: polishing, oxidation kits, or Polytrol. Take whichever is the best fit for your faded RV!
If you are using Polytrol then the following steps aren’t need to be followed. For the rest two options, you will need to follow them! For Polytrol, after cleaning, apply the solution using a brush or lint-free cloth. After applying, wait for 10 to 20 minutes to dry!
- Polishing: Use a good quality RV polish with a soft applicator pad. Apply the polish in a circular motion and buff it off with a clean microfiber cloth. This will remove light oxidation and restore some shine.
- Buffing: If the polish isn’t enough, consider buffing with a rubbing compound and a polishing pad attached to a power buffer. Be careful, buffing can remove a thin layer of clear coat, so it’s important to use a light touch and work in small sections.
- Waxing: After polishing or buffing, apply a coat of RV wax to protect the restored paint and add shine. Choose a wax with UV protection to help prevent future fading.
Final Thoughts
Restoring faded paint ain’t no biggie if you got the right stuff. Check the damage, pick the best method, and follow the steps carefully. No sweat. If you get stuck, ask a pro for help. Now go on and give your RV that slick new coat! For any other questions, just drop a comment below. I got your back on making that baby shine bright again. Happy cruising in style!

