4-Bike Rack for Camper How to Install (My Guideline)
RV camping and cycling go hand-in-hand for many outdoor enthusiasts. As more and more Americans take to the open road in their recreational vehicles for adventure travel and sightseeing excursions, having a way to securely transport bikes is becoming increasingly important.
But finding the right bike rack solution can be a confusing process – with so many types, styles, sizes, weights, and installation methods to consider. Fear not – I’ve put together this guide to walk you through everything you need to know about choosing, buying, and installing a heavy-duty 4-bike carrier on your RV camper or motorhome.
Key Factors to Consider When Selecting a 4-Bike Carrier
When selecting a bike rack for your recreational vehicle, start by considering the key factors of RV type, number of bikes needed, preferred rack style, weight limits, ease of use, and budget. Getting the right match allows secure bicycle transport and convenient loading access for all your cycling adventures.
Type of RV
Is yours a small Class B camper van or a massive 40+ foot Class A diesel pusher? Measure the height, width, rear overhang, and any special contours on your particular motorhome. This ensures compatibility with the rack system you select.
If your rig features accessories like ladders or generators on the rear, account for potential interference issues. Carefully check ground clearance as well – you want your bikes positioned as high as possible.
Rack Type
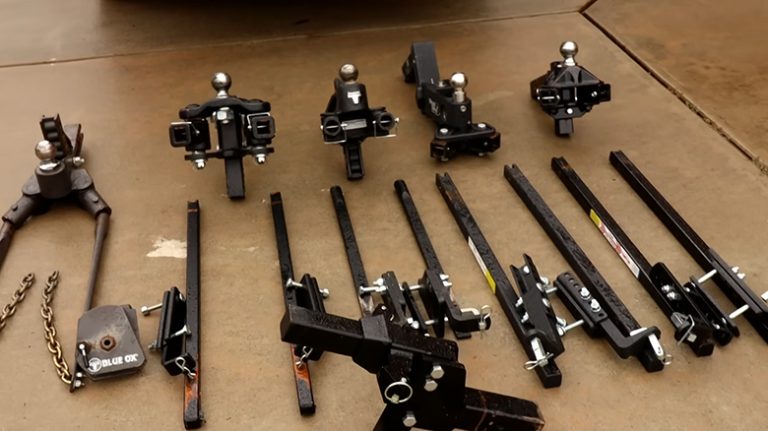
There are 3 main types of bike racks for RVs:
- Platform Racks: The most stable and secure solution, offering thick padded trays to protect expensive frames and wheels. Ideal for any type or size of bicycle.
- Hanging Racks: More affordable but lightweight options that suspend bikes vertically from hooks or arms. Check weight ratings and bike compatibility first.
- Hitch Receiver Racks: Mount into a trailer hitch for loading flexibility. Great for heavier e-bikes. May block tailgate access on some RVs.
Weight Capacity
Double-check your RV’s rear cargo capacity to determine the maximum weight load it can handle. This governs the combined weight of all bikes and racks accessories to stay within safe operation limits.
Ease of Loading/Unloading
Look for racks allowing convenient ground-level access without excessive lifting. Swing-away bumper racks tend to be the simplest for quickly grabbing bikes before a ride.
Budget
RV bike racks vary widely in terms of pricing – starting around $120 up to $900 or more for the highest quality platforms. Factor in your carrying needs and cost considerations before selecting the best value option.
The 3 Main Types of 4-Bike Racks for RVs
Now let’s explore the most popular rack classifications in greater detail…
Platform Bike Racks
These racks securely hold bicycles by their frames horizontally in padded cradles or trays. Platform designs are widely considered the most stable and protective carrier systems.
Pros Cushioned contact points prevent frame damage
Pros Works for virtually all bike frame sizes and types
Pros Keeps wheels immobilized and aligned
Pros Easy mounting installation
Cons Bulkier storage when not in use
Cons Generally the most expensive style
Overall, platform racks are the premium choice for peace of mind and versatility if your RV can accommodate them.
Hanging Bike Racks
As the name suggests, these economical racks suspend bicycles vertically by their top tubes or front forks. Hanging-style carriers attach to back ladders and bumpers.
Pros Lightweight and folds down smaller
Pros Allows ground access to storage bays
Pros Better aerodynamics than platform racks
Cons Less stable and more bike sway
Cons May not fit all bike configurations
Cons Extra precaution is needed with carbon fiber or lightweight frames
Hanging bike racks work well for basic transportation needs but require more caution protecting expensive cycles in transit.
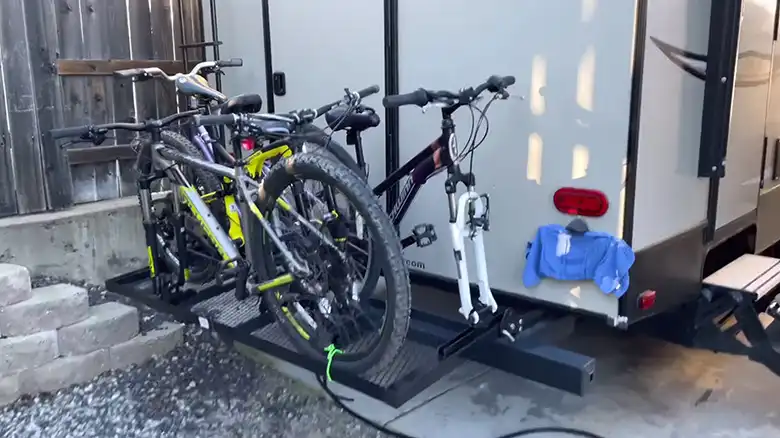
Hitch Receiver Bike Racks
For RVs or campers with a hitch receiver, this style securely transports bikes on a tray or hanging rack stored at the rear of the rig.
Pros Allows opening tailgates/doors without obstruction
Pros Great for mounting heavy e-bikes
Pros Foldable for garage storage when not RVing
Cons Adds length for tricky reverse driving
Cons Rear clearance is reduced
Cons Stored bikes may block license plates
Hitch racks free up interior space and allow versatile loading options. Just take care when backing up with bikes on the tail end.
Gathering Tools and Materials Needed for 4-Bike Rack Installation
To safely and properly mount your brand-new bike rack, you’ll need the following tools on hand:
- Power drill with various drill bits
- Appropriate wrenches
- Socket set
- Level
- Heavy-duty mounting hardware
- Marker or pencil
You’ll also want to have these supplementary materials ready before starting:
- RV-rated side mirrors for seeing bikes while driving
- Additional reflectors/lights to keep racks visible
- Soft straps or bike locks to stabilize loaded bikes
- Touch-up paint pen for any installation holes
Refer to the instructions included with your particular rack for guidance on required tools, torque settings, drilling guides, and mounting equipment specifications.
Step-by-Step Guide to Installing a 4-Bike Platform Rack on an RV
As an example, let’s walk through mounting a heavy-duty platform-style carrier on the rear of a Class C camper van securely enough to handle a family of 4 bikes.
Step 1: Select Mounting Location
Examine rear clearance to determine the ideal installation area based on:
- License plate visibility
- Turning radius needs
- Door/storage access
- Tailpipe heat/exhaust
Use a measuring tape and test fittings to find the optimal location. Mark lightly in pencil where the bolt holes will go.
Step 2: Drill Holes
Using bracket holes as a template, drill pilot holes for each mounting bolt with a bit slightly smaller than the bolts themselves. This allows some threading adjustment.
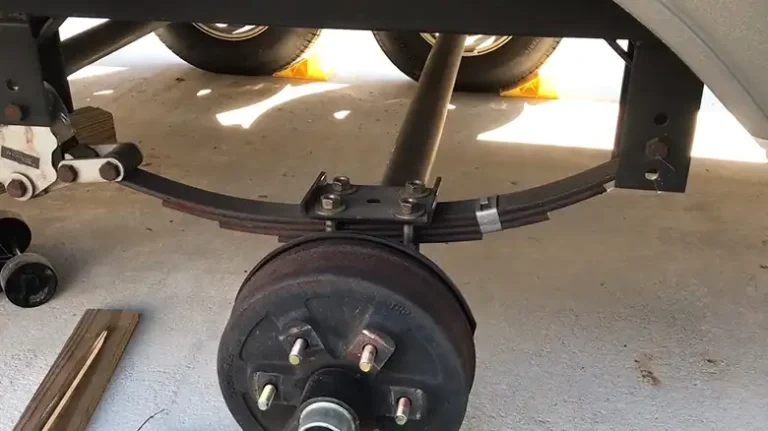
Be extremely careful to avoid penetrating electrical, plumbing, or gas lines inside the camper walls. Refer to your owner’s manual for internal component diagrams if unsure.
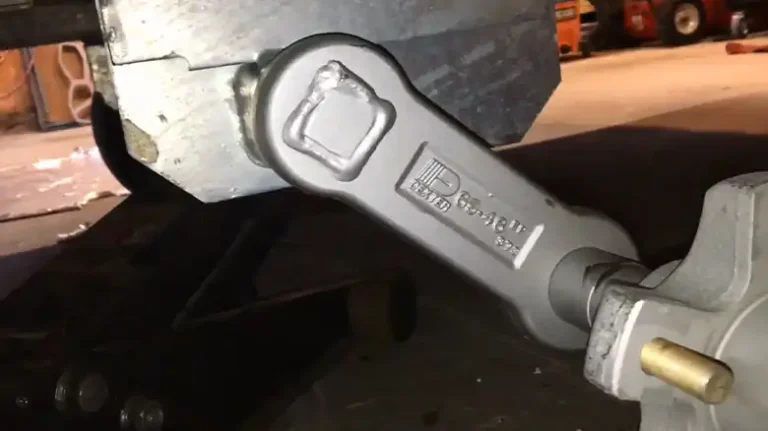
Step 3: Bolt Into Place
With holes drilled, lift the platform rack into the mounting position. Insert bolts through from inside the vehicle first, then attach washers and locking nuts from the outside.
Slowly increase the torque on your wrench to secure everything snugly together without risking exterior damage. Don’t fully tighten yet.
Step 4: Level and Adjust
Use your level tool to double-check rack positioning on both the X and Y axes. Carefully loosen or tighten corner bolts as needed until perfectly square.
Rock rack side-to-side and top-to-bottom checking for any wobble. Add shims if necessary for stabilization before final torquing.
Step 5: Safety Check
With the rack fully secured, have a partner stand back and guide you as you slowly pull the RV forward, then reverse to simulate driving visibility and turn clearance.
Load bikes onto the rack using all available positions to confirm adequate spacing. Mark any initial rub points to the pad later for protection.
Bonus Tips – Use Safety Strut
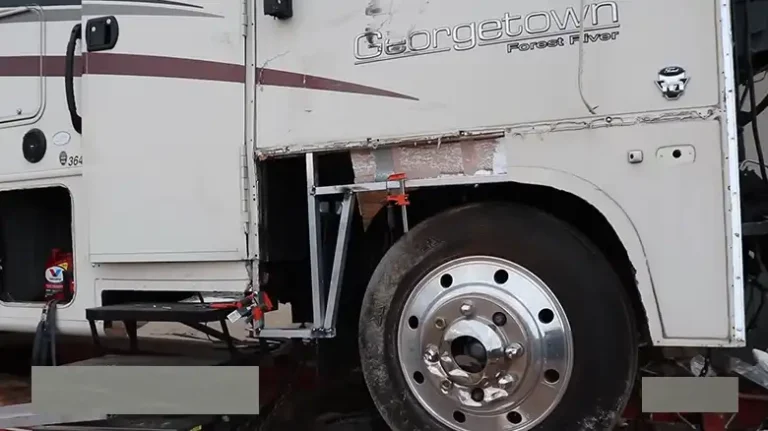
If you are so concerned about the safety of your RV bumper, then you can go for the Safety Strut. This thing will ensure that the bumper will not have any issues like twisting, etc. Due to the twist, there can be cracks found on the welding of your RV’s bumper. So, go for a safety strut, mount it to the RV bumper, and drill the joints for a secure connection.
Why Do You Need a Specialized Bike Rack for an RV?
Unlike regular vehicles, RVs have unique shapes, clearances, and structures that require bike racks to be mounted differently. You need equipment sturdy enough to handle the size and weight of most RVs.
The last thing any camper wants is to lose a beloved bike on the highway or arrive at a destination with damaged cycles. Investing in a rack designed specifically for recreational vehicles keeps your gear secure while opening a world of two-wheeled adventure.
Final Thoughts
I hope this guide gives you greater confidence to choose and install the right heavy-duty bike rack for your RV. By accurately measuring clearance needs, gathering required tools, and taking things slow and steady through the mounting steps, you’ll have safe, stable transportation for all your cycling gear adventures for years to come.
Wherever the open road takes you – from coast to coast or just across town – enjoy the journey with bikes along for the ride thanks to your new specialty rack designed specifically for recreational vehicle shapes, weights, and driving nuances.
Drop any lingering installation questions you still have below, and happy and safe travels, my RV friends!