How to Remove RV Hubcaps: The Complete Procedure I Followed
In the world of recreational vehicles, the road can be a bit of a rollercoaster. And there at some points, your RV hubcaps take a beating. Hubcaps are notorious for being mischievous little fellas. When they tend to get damaged, you can hear a dreaded rattle. This is high time you need to remove them. But how?
Removing them can seem like a daunting task, but actually it’s not! You just need to loosen the lug nuts, pry the hubcap away from the wheel, and finally, remove the lug nuts and take off the hubcap. See, that’s as simple as that! Now, take a few minutes and follow my guidance accordingly.
Step 1: Park It Right
- Safety is the priority here. Find a level surface to park your RV. This will ensure stability and safety during the hubcap removal process.
- Engage the parking brake to prevent your RV from moving.
- Place chocks under the wheels to further secure the RV. Chocks are wedges or blocks that prevent the wheels from rolling, and they are crucial to keep your RV stationary.
Step 2: Lug Nuts Love
- The lug nuts are typically located on the backside of the hubcap and hold it in place. They must be loosened but not completely removed at this stage.
- Grab a wrench or socket wrench that matches the size of the lug nuts.
- Gradually loosen each lug nut by turning counterclockwise. Keep the lug nuts in place for now, as they are important for the hubcap removal process.
Step 3: Pry with Care
- Using a pry bar or a flathead screwdriver, gently separate the hubcap from the wheel. The hubcap is likely clipped or held in place with plastic tabs or clips.
- Apply pressure to these points while carefully prying the hubcap away from the wheel. It’s important to exercise patience and be gentle to avoid causing any damage to either the wheel or the hubcap.
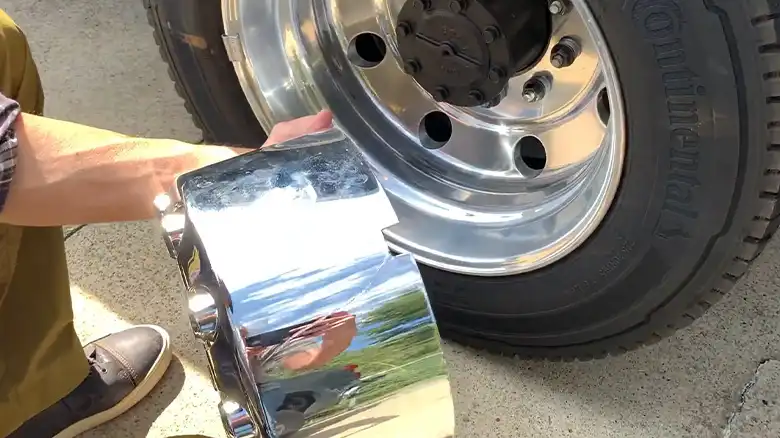
Step 4: Cap’s Off
- With the gentle coaxing from the previous step, the hubcap should now be loose and ready for removal.
- At this stage, you can remove the lug nuts from the studs.
- Carefully take off the hubcap, being mindful not to damage it or the wheel. Inspect both the wheel and hubcap for any signs of damage or wear and tear.
Step 5: The Reassembly
- To put the hubcap back in place, reverse the steps you’ve just completed.
- Align the hubcap with the wheel and gently push it into position.
- Replace the lug nuts on the studs and hand-tighten them initially. Then, use your wrench to tighten them securely. Make sure the hubcap is properly seated.
Step 6: A Bit of TLC
- Before hitting the road again, take a moment to inspect both the wheel and hubcap for any damage or signs of wear.
- If there are any visible issues, such as scratches or dents, you may want to address them before reuniting the hubcap with the wheel.
- A little cleaning and maintenance can also help keep your RV looking its best.
People Also Ask
Q: Can I use a regular wrench to remove hubcap lug nuts?
Absolutely, a regular wrench works just fine. Just ensure it fits the size of the lug nuts snugly.
Q: How often should I check my hubcaps for any issues?
It’s a good practice to check your hubcaps before every long trip or at least once a month to catch any issues early.
Q: What’s the best way to repair minor damages on a hubcap?
For minor scuffs and scratches, you can use touch-up paint. For more extensive damage, consider professional help.
Q: Are there any specific safety measures when using a pry bar?
When using a pry bar, always ensure your hands and face are clear of the wheel in case it slips. Safety goggles can be a smart addition to your toolkit.
Q: Can I replace just one hubcap, or should I replace all of them at once?
While you can replace a single hubcap if it’s damaged, it’s a good idea to replace all of them for a uniform look. Plus, it’s an opportunity to give your RV a fresh, cohesive appearance.
End Note
So, there you have it – the ultimate guide on how to remove RV hubcaps. You’ve conquered those rascally lug nuts and saved your hubcaps from certain doom. Remember, maintaining your RV is all part of the adventure. Now, gear up, get back on the road, and let the good times roll. If you have more questions or need some extra tips, drop a comment below. Happy travels!