Insulating Your RV for Better Furnace Efficiency | How I Benefited?
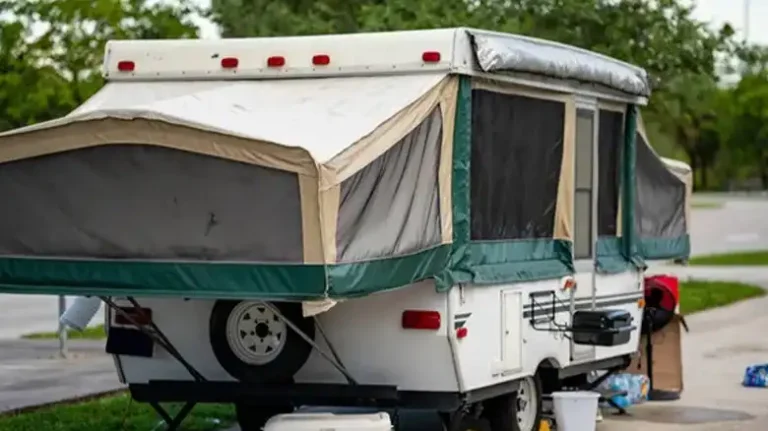
RVing allows us to explore the open road while enjoying the comforts of home. But when frigid temps strike, an inefficient furnace can dampen spirits and damage your travel budget. The solution? Insulating your recreational vehicle.
Proper insulation regulates interior temperatures, enhancing your RV furnace’s performance. On chilly nights, it prevents precious heat from escaping out of cracks and gaps. During hot summer days, it reduces reliance on AC to keep interiors cool.
Let’s explore the benefits of an insulated RV and simple steps to maximize furnace efficiency. By insulating your tiny home on wheels, you’ll stay cozy in harsh weather while saving money on utilities.
How Does Insulation Help to Increase RV’s Furnace Efficiency
Insulation plays a vital role in enhancing the efficiency of your RV’s furnace, particularly during colder months. It acts as a barrier to heat flow, effectively trapping the warm air generated by the furnace and preventing it from escaping the living space. This translates into several benefits:
Heat Retention: Insulation effectively conserves heat within the RV, reducing the amount of energy required to maintain comfortable temperatures. As a result, the furnace doesn’t need to work as hard, saving fuel and extending its lifespan.
Efficient Heat Utilization: By preventing heat from escaping, insulation ensures that the furnace’s output is fully utilized within the RV. This eliminates the waste of energy that would otherwise be lost to the outdoors.
Even Heat Distribution: Proper insulation helps to distribute warmth evenly throughout the RV, minimizing hot or cold spots in certain areas. This creates a more comfortable and consistent indoor climate.
Reduced Furnace Runtime: With insulation, the furnace doesn’t need to run as frequently or for extended periods to maintain desired temperatures. This translates to lower fuel consumption, reduced wear and tear on the furnace, and overall cost savings.
Extended Furnace Lifespan: By minimizing the furnace’s workload, insulation helps to prolong its lifespan and reduce the need for costly repairs or replacements.
Properly insulating your RV allows your furnace to operate more efficiently since the heat produced gets transferred directly where you need it instead of being lost outside. Upgrading insulation helps maximize your propane or diesel fuel usage, lowering costs and furnace runtime.
First, Know the Types of RV Insulation Materials
Several insulation types suit RVs:
Fiberglass Insulation
Fiberglass insulation consists of finely spun glass fibers. It traps air pockets that resist heat transfer. Flexible and lightweight, fiberglass insulation comes in batts or rolls.
RVers often use it to insulate RV underbellies since it withstands moisture well. It has an R-value between R-2.2 to R-3.8 per inch. The higher the R-value, the better its insulative properties.
Foam Board Insulation
Foam boards made of polystyrene or polyisocyanurate foam are moisture resistant and provide thermal insulation. These rigid panels have high R-values, between R-3.6 to R-6.5 per inch.
They provide excellent insulation for RV roofs, floors, and walls. RV owners can cut panels to fit spaces precisely. Foam board insulation resists heat flow efficiently thanks to tiny air bubbles trapped within.
Reflective Foil Insulation
Reflective foil insulation contains one or more shiny foils that reflect radiant heat. While they don’t stop conductive or convective heat flow, radiant barriers block up to 97 percent of radiant heat. The R-value of it can be anywhere from R-3 all the way up to R-17.
Installing reflective foil in RV ceilings and walls reduces heat gain inside your RV on hot days. It also traps rising interior warmth in colder months.
Spray Foam Insulation
Spray foam insulation offers custom-fit thermal protection. Liquid polyurethane foam expands dramatically when sprayed.
It adheres tightly within gaps, sealing cracks and gaps as it cures. Spray foam insulation has insulating R-values from R-3.8(open cell) to R-7(closed cell) per inch. Professional spray foam application ensures optimal insulation.
Pros and Cons
| Type of Insulation | Pros | Cons |
| Fiberglass | Inexpensive, easy to install | Not as moisture-resistant as rigid foam or spray foam |
| Rigid foam | Long lifespan, high moisture resistance | Can be difficult to install |
| Spray foam | Superior moisture resistance, effective seal | Lower R-value than rigid foam and fiberglass, somewhat challenging installation |
| Reflective Foil | Lightweight, easy to install, effective at blocking radiant heat | Doesn’t stop conductive or convective heat flow, may not provide sufficient insulation on its own |
What are the RV Areas that Need to be Insulated?
Focus insulation efforts in these spots where heat loss commonly occurs:
RV Walls
Properly insulating RV walls is crucial for maintaining a comfortable interior temperature throughout the year and preventing heat loss in cold weather and heat gain in hot weather. Effective wall insulation also helps reduce energy consumption and condensation buildup.
Interior Wall Insulation
For interior RV walls, it’s essential to use moisture-resistant insulation materials to prevent mold and mildew growth. Fiberglass insulation is a common choice due to its affordability, ease of installation, and effectiveness in resisting heat transfer. However, fiberglass insulation can absorb moisture, so it’s vital to install moisture-resistant facings on both sides of the insulation to protect it from condensation.
- Step 1 – Remove the interior wall paneling to access the wall cavity.
- Step 2 – Install moisture-resistant facings on both sides of the wall cavity.
- Step 3 – Cut fiberglass insulation batts or rolls to fit the dimensions of the wall cavity.
- Step 4 – Carefully insert the insulation batts or rolls into the wall cavity, ensuring they tightly fill the space without gaps.
- Step 5 – Reinstall the interior wall paneling.
Exterior Wall Insulation
Exterior RV walls require a more robust insulation approach due to direct exposure to external weather conditions. Rigid foam boards offer superior moisture resistance and thermal insulation compared to fiberglass insulation. These boards come in varying thicknesses, allowing for customization based on the desired R-value (thermal resistance).
- Step 1 – Attach furring strips (thin wood strips) vertically to the exterior wall framing.
- Step 2 – Cut rigid foam boards to fit between the furring strips.
- Step 3 – Apply weather-sealing tape along the edges of the foam boards to prevent moisture infiltration.
- Step 4 – Install the foam boards between the furring strips, ensuring they fit snugly without gaps.
- Step 5 – Seal the edges of the foam boards and the furring strips with weatherstripping to create a moisture-proof barrier.
Windows
Apply window insulation film to reduce conducted heat loss through glass. Reflective films also lower radiant heat gain entering RVs on sunny days.
- Step 1 – Clean the interior surface of the RV window thoroughly to remove dirt, grease, and any residue.
- Step 2 – Cut the window insulation film to size, slightly larger than the window dimensions.
- Step 3 – Dampen the window with a spray bottle of water.
- Step 4 – Peel off the backing paper from the window insulation film and carefully apply it to the wet window surface, smoothing out any wrinkles or air bubbles.
- Step 5 – Use a hair dryer to heat the film, causing it to shrink and tightly adhere to the window.
- Step 6 – Trim any excess film around the edges of the window.
Thermal curtains and blinds further shield interiors. Close them at night to retain warmth from departed sunshine or furnace heat.
- Step 1 – Measure the height and width of the RV windows accurately.
- Step 2 – Purchase thermal curtains or blinds that match the window dimensions or can be trimmed to fit.
- Step 3 – Install curtain rods or blinds above the windows according to the manufacturer’s instructions.
- Step 4 – Hang the thermal curtains or blinds securely on the curtain rods or brackets.
Doors
RV doors are another critical area for heat loss in cold weather and heat gain in hot weather. Properly sealing and insulating RV doors can significantly improve the RV’s thermal performance and reduce energy consumption.
Weatherstripping
Weatherstripping is a flexible seal that fills gaps between the RV door and the door frame, preventing air leaks and heat transfer. Choose weatherstripping products specifically designed for RVs to withstand extreme temperatures and harsh weather conditions. Apply weatherstripping around the entire perimeter of the door frame, ensuring it makes a tight seal with the door when closed.
Door Sweep
A door sweep is a seal that fills the gap at the bottom of the RV door, preventing drafts and heat transfer through the door threshold. Choose a door sweep with sweeping bristles that provide an extra barrier against the elements. Adjustable door sweeps are particularly useful for uneven ground surfaces. Install the door sweep securely to the bottom of the door frame, ensuring it makes tight contact with the ground when the door is closed.
Roof
RV roofs play a crucial role in regulating interior temperature and preventing heat loss in cold weather and heat gain in hot weather. As hot air rises, uninsulated RV roofs can act as a significant source of heat transfer, leading to energy loss and discomfort. Properly insulating the RV roof can significantly improve thermal performance and reduce energy consumption.
Rigid Foam Insulation Panels
Rigid foam insulation panels are an excellent choice for insulating RV roofs due to their superior thermal resistance, moisture resistance, and durability. These panels come in various thicknesses, allowing for customization based on the desired R-value (thermal resistance).
- Step 1 – Remove the RV’s interior roof paneling to access the roof cavity.
- Step 2 – Clean the roof cavity thoroughly to remove any dirt, debris, or old insulation materials.
- Step 3 – Cut rigid foam insulation panels to fit the dimensions of the roof cavity.
- Step 4 – Carefully insert the foam panels into the roof cavity, ensuring they fit snugly without gaps.
- Step 5 – Secure the foam panels in place using adhesive or mechanical fasteners as recommended by the manufacturer.
- Step 6 – Reinstall the RV’s interior roof paneling.
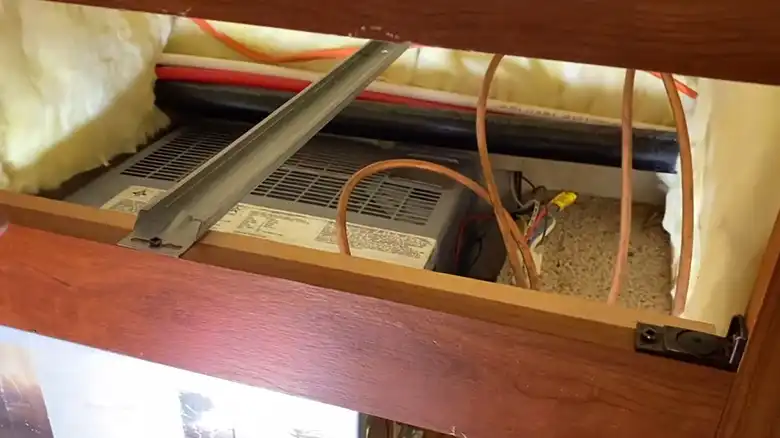
Insulating Vents, AC Units, Skylights, and Fixtures
In addition to the overall roof insulation, it’s essential to insulate any vents, AC units, skylights, or other fixtures penetrating the RV roof. These openings can be potential sources of heat loss or gain if not properly sealed.
- Apply weatherstripping tape around the perimeter of vents, AC units, skylights, and fixtures to create a tight seal.
- Use insulating foam sealant to fill any gaps or cracks around these openings.
- Replace any damaged or worn seals on vents, AC units, skylights, or fixtures.
Are you looking to hire a professional to insulate your RV?
Don’t feel up to tackling an RV insulation DIY? Consider hiring a professional insulation installer.
They possess essential tools, materials, and knowledge for meticulous application. Experts detect and seal heat loss spots RV owners may overlook. Professionals access tricky spots like roof undersides with ease. They also handle messy spray foam and caulking applications cleanly.
Insulation professionals produce attractive, uniform work too. No sloppy edges or ragged cuts on display. Hiring out costs more yet ensures the job gets done right the first time. Do-overs waste money. Factor return on investment into your decision too.
Proper insulation saves money on propane and electricity long-term by enhancing furnace and AC efficiency. If you camp often, fuel savings can quickly offset installation costs.
Tips for Maintaining the Efficiency of Your RV Furnace
Once insulated, preserving furnace efficiency involves:
A. Regular Furnace Maintenance
Replace air filters as needed per manual guidelines — typically annually or biannually. Dirty clogged filters reduce airflow.
Hire a technician to inspect and tune up furnaces annually. Preventative maintenance saves money by catching minor issues before they become costlier repairs.
B. Use Heating System Controls
Close vents and supply registers in unused areas. Shutting down airflow to unoccupied spaces allows furnaces to work more efficiently.
Set programmable thermostats to lower temperatures when away or sleeping. Dialing down temps when possible conserves propane.
C. Employ Other Heating Sources
Supplement furnace heat with portable space heaters as needed instead of blasting central heating. Use safe electric or propane models equipped with auto shut-off features.
On sunny winter days utilize passive solar warmth. Open drapes covering sunny windows allow radiant heat inside. Absorptive dark upholstery soaks up and emits solar warmth too.
Insulate Your RV for Cozy, Efficient Winter Camping
I hope you’re feeling motivated to insulate your recreational vehicle! Following the application tips, product recommendations, and efficiency pointers outlined above will have you camping cozily all winter.
Properly insulating your tiny home on wheels conserves energy and enhances interior comfort in any weather. Your RV furnace will operate optimally without overworking or wasting costly propane.
Did I miss any key insulation or winterizing tips? Have experience hiring an insulation pro for your RV? Share your input by commenting below! Thanks for reading and happy travels!
![[ANSWERED] Does RV Antifreeze Evaporate?](https://www.exploringthelocallife.com/wp-content/uploads/2023/08/Does-RV-Antifreeze-Evaporate-768x431.webp)