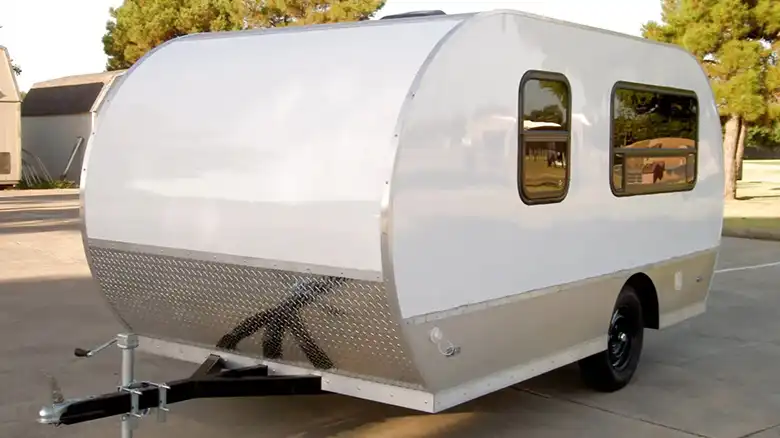
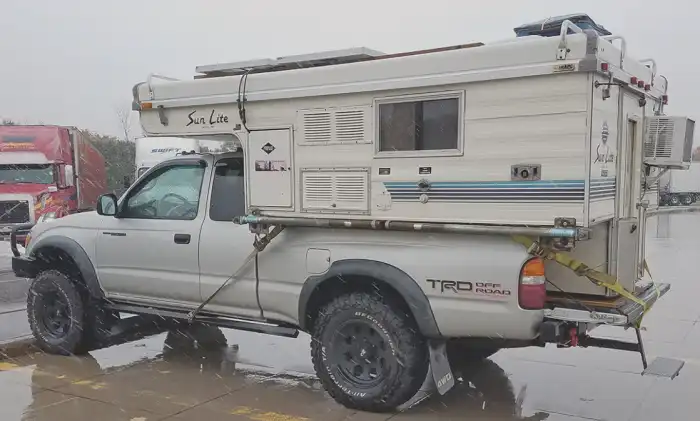
I’ve been a passionate truck camper owner for over a decade now. My custom-built camper lets my wife and I tour the country in comfort, without needing to pay for hotels or camping sites. However, one key challenge all truck camper owners face is keeping the camper securely attached to the truck bed. Commercially sold tie-down systems can cost a small fortune. So last year, after losing my expensive tie-downs to wear and tear, I decided to take matters into my own hands by building a customized, heavy-duty system myself for a fraction of the price.
In this complete guide, I’ll walk through my entire homemade truck camper tie-down construction process, from initial planning and design, all the way to final installation and testing. I’ll also share tips for choosing the right materials, important safety considerations, maintenance best practices, and helpful resources in case you decide to have professionals handle the installation instead. Follow along to learn how you too can build rugged, reliable tie-downs tailored specifically for your truck and camper!

Why Build Your Own Truck Camper Tie Downs? Key Benefits and Safety Considerations
Factory-made tie-down kits are no doubt tested and approved for securing truck campers. However, they can set you back $600 or more! Plus, mass-produced kits are designed to fit “average” truck bed dimensions, meaning they likely won’t maximize stability specific to your particular setup.
Constructing custom tie-downs allows you to:
- Optimally distribute weight and integrate tie-down points into your truck’s frame.
- Choose heavy-duty, long-lasting materials that suit your budget.
- Perfectly tailor the system to your camper’s dimensions and weight.
However, safety should be the top consideration with homemade projects involving vehicles. Improperly built or installed tie-downs could fail on the road, leading to disastrous accidents or damage.
Before starting construction, thoroughly research proper engineering practices. Consult experienced truck camper owners online or locally. Have an expert review your plans to ensure adequacy. Don’t take risks with shoddy workmanship or inadequate materials when lives are at stake!
Choosing the Right Design and Materials for Homemade Tie Downs
Two major homemade tie-down design categories exist:
Frame-Mounted vs. Bed-Mounted Tie Down Systems
Frame-mounted tie-downs bolt directly onto the truck frame using custom-fabricated mounts. This provides an incredibly robust, permanent anchoring point for turnbuckles connected to the camper. Installation requires some frame drilling but results in a clean factory-like finish.
Bed-Mounted Systems
For those unwilling to drill into their truck frame, bed-mounted tie-downs offer an alternative. As the name suggests, these bolt through the bed walls rather than the frame. Bed liners can be cut to fit around the anchors. While convenient, it’s wise to reinforce the sheet metal openings to prevent tearing over time.
You might also employ a hybrid approach with bed-mounted rear anchors but frame-mounted front ones within the engine bay for maximum security. The possibilities are endless when fabricating your own system!
Now let’s discuss materials. Commercial truck tie-downs generally use:
- Steel tubing, angle iron, or channel for structural pieces.
- Grade 8 bolts, washers, and nylock nuts for critical joints.
- 3/8″ or 1/2″ galvanized steel cable with thimbles.
- 4-way adjustable steel turnbuckles rated for several tons.
- Chain or nylon strap as a secondary failsafe.
- D-rings and metal hook carabiners for attaching components.
Use these ultra-strong materials as a baseline for minimum structural adequacy. Beef up components even further for additional peace of mind!
Step-by-Step Guide to Building Homemade Tie Downs
With research and planning complete, let the building begin! I’ll outline my homemade tie-downs step-by-step creation:
Gather Tools & Materials
You’ll likely need:
a) Tape measure
b) Marker
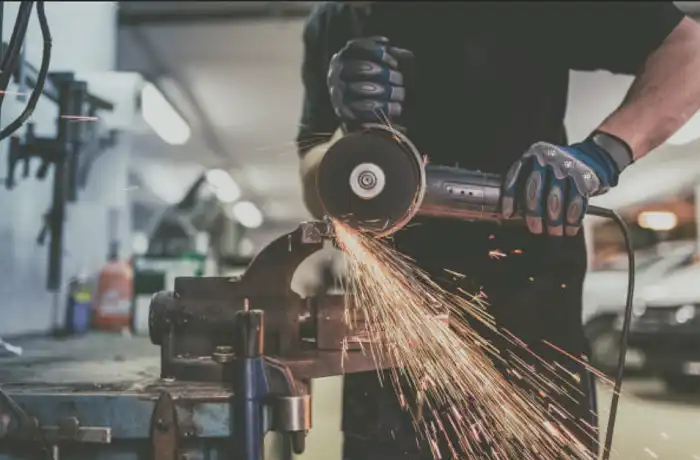
c) Angle grinder
d) Drill
e) Wrenches
f) Welder (or bolt-together parts instead)
g) Eye and ear protection
h) Chosen steel tubing, bolts, turnbuckles, etc.
Measure Mounting Locations
Measure exact bed dimensions and record potential frame mounting points. This will determine steel tube cutting lengths and design.
Cut, Drill & Shape Components
Bed-mounted anchors are the easiest. Simply cut tubes or angle iron to size with an angle grinder, drill holes in the bed floor, then bolt everything together with large fender washers distributing load underneath.
For frame-mounted anchors, measure frame depths then cut tubes and/or fabricate mounts to suit.
Weld/Assemble Anchors & Mounts
With all parts shaped, secure anchors and frame mounts either via welding or by bolting pieces together if avoiding permanent welding.

Install Anchors & Link to Turnbuckles
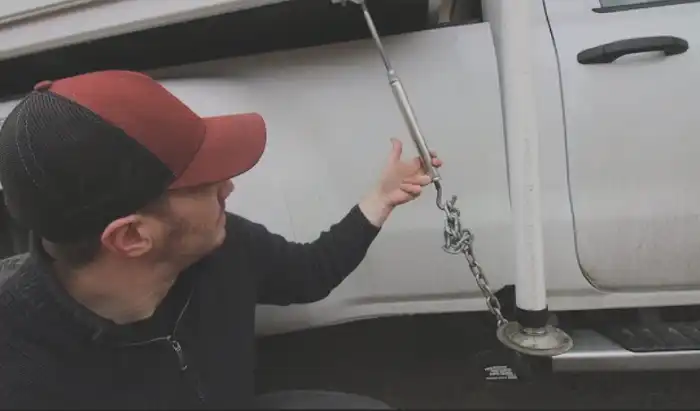
With robust anchors fabricated, bolt the mounts to the frame or bed floor. Run galvanized steel cable through anchors and attach turnbuckles. Add secondary chains/straps attached with carabiners or D-rings as failsafe backups.
Tension & Test System!
Carefully tension each tie-down point checking for stability in all directions. Secure the camper and truck loaded as if traveling normally. Vigorously shake the camper checking for any slack, loosening, or concerning movement over several hours. Add reinforcements if needed before hitting the road!
Testing, Maintenance, and Safety Tips for Your DIY Tie Down System
Refrain from relying on purely on initial system tests – regularly inspect for damage or loosening. Tightened turnbuckles over time, examined metal components for fatigue cracks monthly, replaced worn parts proactively, and so on. Don’t risk your safety to save a few dollars should repairs become needed!
Also, consider…
a) Check the tension on cables and chains before each trip. They can stretch over time.
b) Examine spots where tie-downs contact the camper frame. Add protective sleeves if abrasions appear.
c) During extreme weather, inspect tie-downs for stretching from camper movement.
d) Have a second person attempt to rock the camper while an inspector looks for any worrying motion.
e) Use only authentic grade 8 replacement hardware. Inferior bolts/fasteners can shear suddenly.
f) Confirm welds or joints show no cracks annually. Grind and re-weld any problem areas.
g) Lubricate adjustment threads on turnbuckles to keep tension capability intact.
Exploring Commercial Alternatives to Homemade Tie Downs
Constructing custom tie-downs is deeply satisfying (and cost-effective!), but naturally requires significant effort and metalworking skills. If you prefer a commercial system, brands like Torklift, Happijac, Valley Tie Downs, etc manufacture camper tie-down kits catering to various truck makes/models. Expect to invest $500-800+ for a pre-engineered alternative that may require custom fitting.
There are also countless mobile RV service technicians nationwide who specialize in securing truck campers properly. This option eliminates DIY effort for those willing to pay installation fees. Either way, never haul an untethered camper lacking tie-downs specifically designed to keep your particular truck and camper secure!
Final Thoughts
I hope this guide gives you the confidence to build ultra-robust tie-downs for your beloved truck camper rather than settling for expensive off-the-shelf systems. With adequate planning and materials, the sky’s the limit making custom designs allowing national park adventures for years to come!
Never compromise on engineering integrity, quality hardware, or diligent testing when lives depend on homemade gear. But with prudent effort and care, you CAN hit the open road with peace of mind thanks to top-notch truck camper security that won’t break the bank!
Let me know if you have any other questions. And happy camping my friend!
Can I install homemade tie-downs without welding?
Yes, you can bolt together parts instead of welding if you don’t have welding skills or equipment. However, this may reduce overall strength. Reinforce joints adequately, use lock washers/nuts, and test rigorously.
What if my camper is very heavy – will homemade tie-downs be adequate?
Great question! Extremely heavy campers require robust engineering and build quality, but it’s certainly possible with homemade systems. Use oversized steel tubing, multiple anchoring points, and high-grade turnbuckles. Seek expert guidance on layout and tensioning techniques as well. Safety first!
What gauge wire cable is best for homemade tie-downs?
I recommend using 3/8″ or 1⁄2” galvanized steel cable. Aircraft grade 7×19 strand cable offers optimal durability. Match cable gauge to turnbuckle openings and use thimbled ends.
Can I attach homemade tie-downs to pop-up camper frames?
Yes, with some design adjustments. Use wide mounting plates spreading force, add extra braces, and consider cab-over supports. Pop-up campers see greater frame strain which must be accounted for.
Is it safe to use chains instead of cables for tie-downs?
Chains alone may lack elasticity leading to sudden shock loads. Use them only as secondary attachments for dynamic support, not primary tie-points. Prioritize adjustable galvanized cables and straps instead.