Truth be told, I’ve had to replace the bunk ends in my hybrid camper more than once after years of use and some minor accidents. After my latest replacement project, I wanted to share my experience and a helpful guide for anyone looking to replace their hybrid camper bunk ends.
What Is a Bunk End and Why It Needs Replacing?
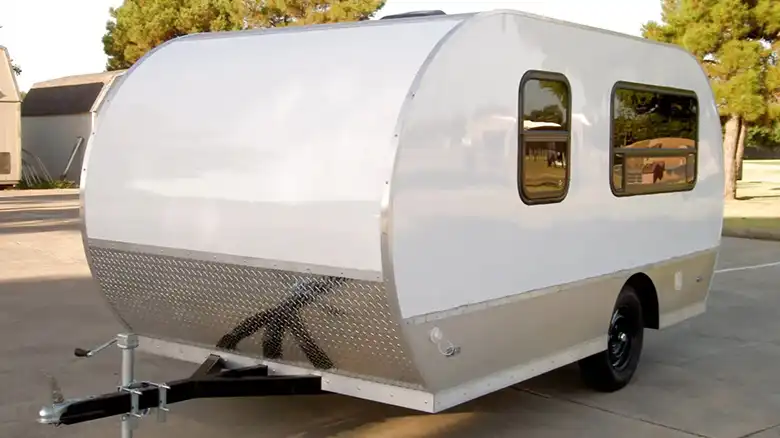
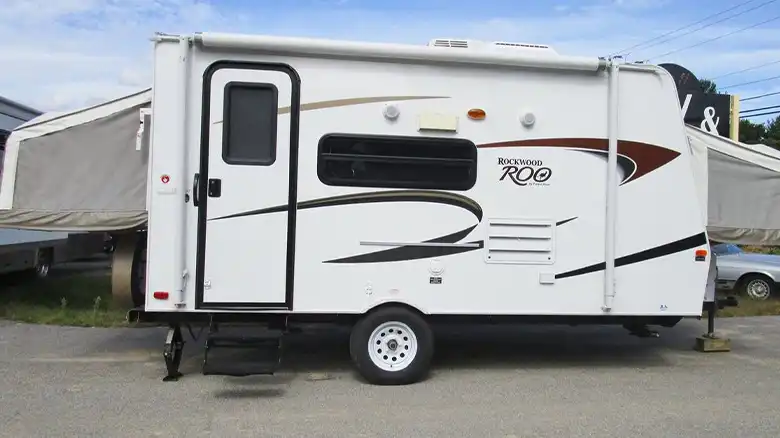
As the owner of a 2011 Rockwood Roo hybrid trailer, I use the U-shaped dinette bunk quite often for extra sleeping space when I’m camping with my family or friends. The bunk ends are vertical panels that enclose the dinette nook to turn it into a cozy sleeping space. After 8 years of camping trips, normal wear and tear caused the thin laminate paneling on my bunk end to crack and peel. I decided this would be the perfect winter project to freshen up my camper and replace the bunk ends.
Essential Tools and Materials for Bunk End Replacement
For this project, I used standard hand tools like a cordless drill, screwdrivers, wrenches, some basic power tools like a jigsaw for adjustments, and a few other supplies:
- 1/4″ plywood paneling
- 2″ x 2” lumber posts
- Z-max sealant
- Self-tapping screws
- L-brackets and handles
- DC-to-AC power inverter
- LED bunk lights and switches
I ordered the replacement wood panels and hardware through RV Parts Nation. Having the right materials and tools on hand is crucial before starting a demo on the bunk itself.
Preparing for a Successful Hybrid Camper Bunk End Replacement
Before ripping out the old bunk ends, I fully inspected how they were assembled and identified any potential snags. I measured the interior bunk frame to ensure my new panels would fit perfectly within the space. I also tested the DC outlet and forward bunk lights to see if they still operated, which they did. Lastly, I cleared out the entire bunk area by storing the dinette cushions elsewhere and covering the floor space.
Removing the Old Bunk Ends: Step-by-Step
Using a drill, I carefully removed the screws anchoring the damaged panels to the camper frame and walls. This part requires patience as there were quite a few fasteners. With some maneuvering, I successfully extracted both bunk end pieces from the dinette nook opening without causing any cracks or splits in the wood.
Installing New Hybrid Camper Bunk End Panels
After sanding and staining my freshly cut plywood panels, it was time to anchor them into place. I used long construction screws combined with L-brackets to affix the new panels firmly to the bunk frame and walls. I made precise cuts for the panels to fit directly into the metal lip of the dinette foundation. I also reconnected the forward LED lights to an AC/DC power inverter I installed.
Final Touches: Completing Your Bunk End Replacement
As a final step, I used the Z-Max sealant around the edges of the new panels and any openings or gaps from the installation. After allowing 24 hours to cure, the sealant helps waterproof the wood. I also reinstalled the handles and did several safety checks by applying pressure and shaking the bunk ends vigorously to test for any loosening or damage over time.
Conclusion
I’m very pleased with how this DIY hybrid camper upgrade turned out. The bunk area feels much roomier and more comfortable now. I welcome any fellow RVers to reach out if you tackle a similar project and need advice!