
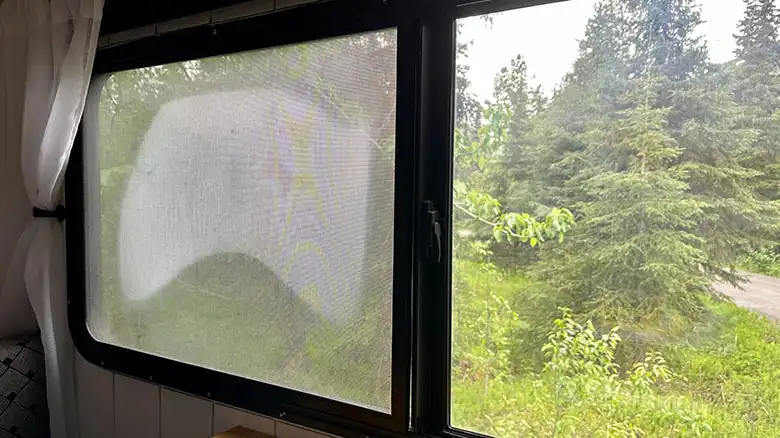
While going out in the wild with your RV or on a road trip, you get so excited that you forget that it’s been sitting in the shed for the last few months. And all the dust and debris now need cleaning. Especially the window screens, they tend to catch even the micro dust particles, and you cannot see anything outside correctly.
As easy as home window screens are to take off, RV screens are also a lot the same in a way or two. How to remove RV window screens for cleaning you say? Well, you can pull the tab on them, push the pins inwards, or even use a prying tool if there are none of the first two.
And we are here today to guide you with it.
Methods to Remove RV Window Screens for Cleaning
Most RVs come with any of the 3 window screen locks. Either they have tabs on both sides of the bottom, or pins that are spring-loaded, and just simple push-ons. We are going to guide you through all of these 3 methods.
How to Remove RV Window Screens Using Tabs?
So we will start with the most basic RV window screens. These have tabs on both sides of the window that comes with a tab. Removing them requires almost no effort than pressing and pulling.
Step 1: Find the tabs on your window screen. It can be located on top or bottom, on both sides of the window.
Step 2: Place your fingers inside the tab slot and press down on them.
Step 3: Start pulling while you are holding the tab down. And your window screen will come off.
Now you can clean them and put them back without even holding the tabs down. Simple as that.
Removing Window Screens with Pin Locks
Some window screens come with a pin lock. It’s one of those cool things that you also find in a lot of spring-loaded devices. To remove them, you will have to follow the steps.
Step 1: Find the pin locks on both sides of the window screen. Just like the tab locks, they can be located either on the top or on the bottom of the window.
Step 2: This time you will need to hold the pins and press them backward to compress the springs. Do it on both sides, at the same time.
Step 3: And you know what to do now, pull it towards you. And you will have your window screen off.
After cleaning, you will need to press the pin locks once again to put them back. If you don’t do this, you risk the possibility of damaging the springs or pins. So better not force it.
How to Use a Prying Tool for Screen Removal?
Then there are the standard and traditional push-in and pry types of window screens. You can use a paint scrapper or even a flathead screwdriver to remove them. Gently pry the screen with the screwdriver on one side move on to the other, and then apply a little pressure to take them off.
And putting them back in? Slap that thing on, but gently.
Common FAQs About RV Window Screens
How do you remove a screen from the inside of a window?
If your window has a screen that doesn’t have any way to take off, then you might need to pry it off or slide it out of the frame to remove it.
How do you clean window screens that Cannot be removed?
For fixed window screens, you will need to remove the dust first. We suggest using a vacuum cleaner to do that to minimize the dust flying around. Then place protective plastic covers all around the window and the floors. And wash it with soapy water and a soft brush. Don’t use a metal brush as it will damage it. Do a last clean water wash and dry it out using a cloth or rag.
Do RV Windows Have Screens?
Yes. 9 out of 10 times there are window screens on your RV windows.
Conclusion
Taking off and putting back your RV window screens are easy enough if you know how to do it. And everything should be done gently, as this is not the WWE (World Wrestling Entertainment) we are talking about. You can soak them in soapy water to clean them, fully dry them, and put them back on. They are simple things that require some patience and care. So don’t choke slam them, yeah?

