
An RV water heater relies on a flame sensor to regulate safe operation. This small device acts as the eyes for the burner system allowing gas flow only when a flame is detected. Over time, soot buildup interferes with this functionality. Operating an RV water heater with a dirty sensor risks dangerous outcomes.
The burner may fire constantly with no off-regulation in a runaway condition. Or it fails to ignite at all leaving you without access to hot water. In either case, cleaning the sensor restores normal operation quickly and cheaply.
Learning proper cleaning and maintenance keeps your sensor working properly for heating needs and safety. For that, we have explained the reasons behind a malfunctioning sensor, steps for cleaning, appropriate maintenance, and signs you need replacement. With some simple regular care, your flame sensor promotes reliable hot water for years on end.
Causes of Flame Sensor Issues in RV Water Heaters
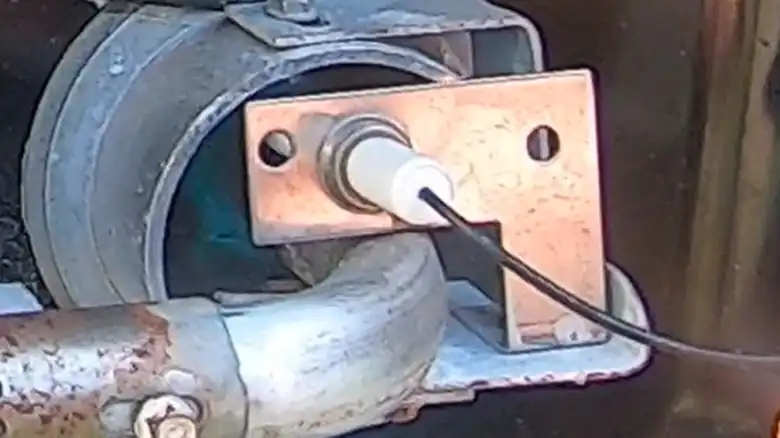
A flame sensor rod sits in the burner flame path monitoring current flow. When hot, conductivity increases and signals the gas valve to remain open for combustion. But cool temperatures see a drop in conductivity which triggers shutdown.
Over months and years of heating cycles, airborne debris and combustion byproducts coat the sensor insulating it from the flame. The soot buildup impedes conductive readings leading to operational failure in one of two ways:
- Fails to Sense Flame
Contaminate accumulation prevents hot flame conduction so low or no signal reaches the circuit board. With no flame detected, the gas valve closes halting ignition. This leaves you without hot water capability.
- Runaway Heating
During heat-up, the insulated sensor takes longer to warm and signal for gas cutoff. This leads to prolonged firing well past standard range threatening overheating or fire.
Fortunately, troubleshooting flame sensor issues starts with simple cleaning before replacing components.
Step-by-Step Guide to Cleaning Your RV Water Heater Flame Sensor
Use these steps to safely clean your water heater flame sensor:
Step 1: Turn Off the Power and Gas Supply
Disconnect all electric and LP gas feeding the appliance before servicing to prevent accidental ignition. Shut off water lines as well if directly connected.

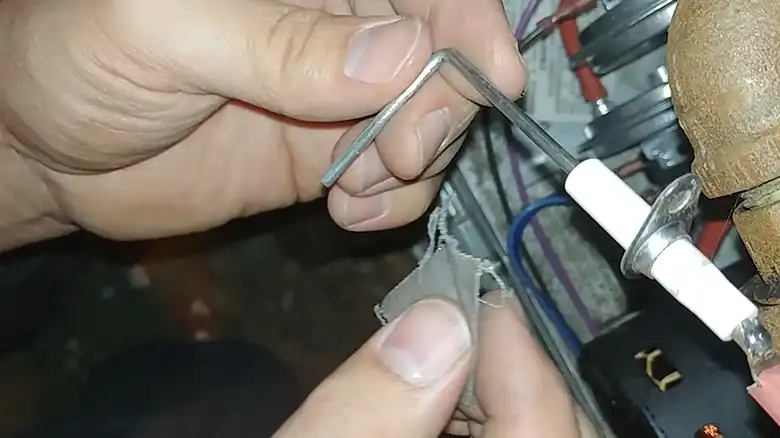
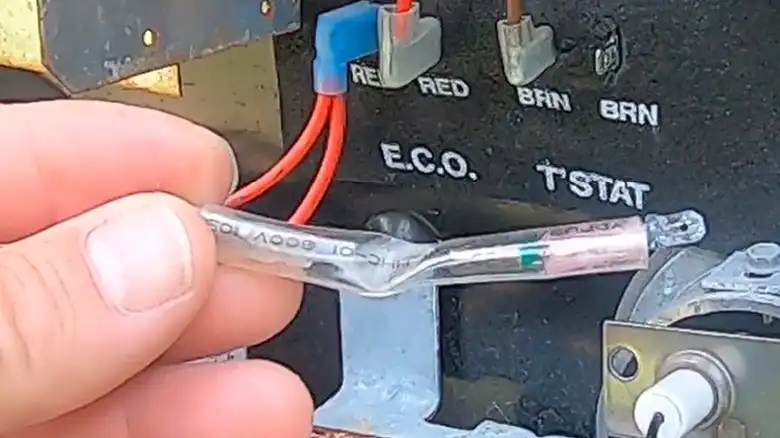
Step 2: Remove the Flame Sensor
Determine the sensor location in your unit make and model then gently extract it from the burner assembly. This thin rod secures to a wiring that you have to disconnect.
Step 3: Clean with Steel Wool
Use fine-grade steel wool to gently polish away any surface debris coating the sensor rod. Take care not to damage the integrity of the metal. Sparky corrosion signs indicate replacement needs.
Step 4: Remove the Flame Burner
Also remove the main burner unit to clean the ignition area.
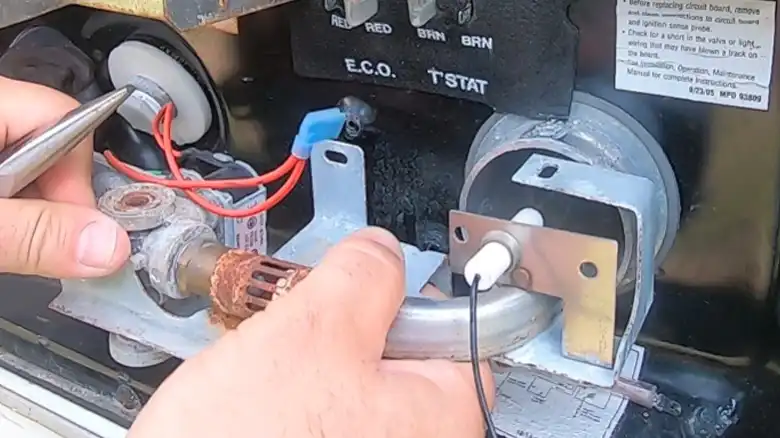
Step 5: Rinse the Sensor and Burner
Wipe all loose residue from the sensor using a clean rag. You can also rinse using tap water or solvent cleaners compatible with your sensor metal composite.
Step 6: Reinstall the Sensor and Restore the Supply
Carefully reconnect the wiring harness to the cleaned sensor rod. Reseat the assembly within the burner heat path. Restore gas and electricity then test for proper ignition.
How to Extend the Lifespan of Your Flame Sensor
While cleaning addresses immediate issues, certain maintenance practices promote longer lifespans:
1. Run Monthly Maintenance Cycles
Periodically firing the burner maintains a cleaner sensor function over long-term storage periods. This self-cleanses soot buildup before it becomes problematic.
2. Install Protective Covering
Affix metal sheathing above the sensor with airflow holes to shield it from non-combustion debris without blocking flame contact.
3. Check Exhaust Pathway Cleanliness
Buildup around exhaust vents suggests internal debris warranting preventative cleaning Attention even if hot water flows normally.
4. Use High-Quality Propane
Low contaminant fuel leaves less particulate matter to bake onto the flame sensor encouraging cleaner operation.
Signs That Your Flame Sensor Needs Replacement
While cleaning resolves most sensor issues, deterioration eventually necessitates replacement. Signs of its time include:
- Visible cracks, chips, or missing sections
- Corroded pitted surfaces that don’t clean up
- Resistance values outside manufacturer specifications
- Persistent failure after cleaning attempts
Typical lifespan ranges from 5-10 years depending on use levels before performance declines. Thankfully sensors cost under $50 supplying an easy fix.
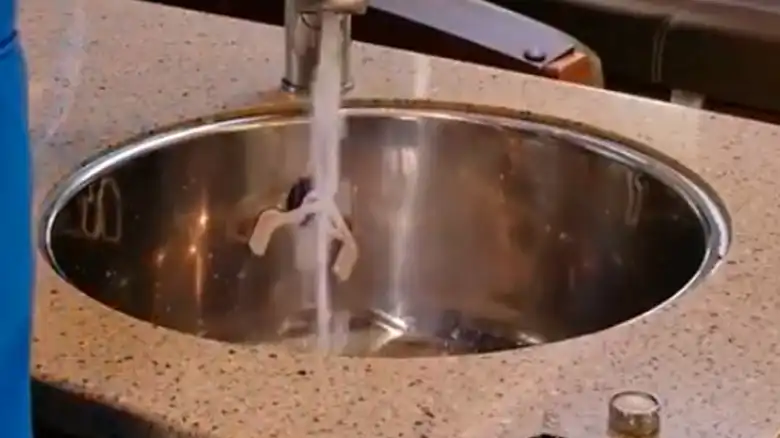
Enjoy Hot Water with a Well-Maintained Flame Sensor
Now you know how to revive a struggling flame sensor and perform routine care for lasting service. schedule cleaning alongside exterior vent inspections before taking extended trips. Then enjoy convenient hot water for cooking and cleaning thanks to a properly functioning RV water heater sensor.
Frequently Asked Questions – FAQs
Q1: Can a dirty flame sensor cause a water heater to stop working?
A: Absolutely. A dirty flame sensor can lead to erratic burner behavior and, in severe cases, a complete shutdown of the water heater.
Q2: How do I know if my flame sensor needs cleaning?
A: Look out for signs like a flickering flame or frequent water heater shutdowns. If you notice these, it’s time to give your flame sensor some love.
Q3: Can I use any cleaning solution for the flame sensor?
A: Stick to the basics – a soft brush or cloth and, if needed, a can of compressed air. Avoid harsh chemicals to prevent damage to the sensor. Gentle abrasives like steel wood work well avoiding damage. Water rinses help but avoid corrosive chemicals that degrade the sensor.
Q4: Is DIY flame sensor cleaning safe for beginners?
A: Absolutely. As long as you follow safety guidelines and use gentle cleaning methods, DIY flame sensor cleaning is a straightforward task for most RV owners.
Q5: How does a clean flame sensor improve water heater efficiency?
A: A clean flame sensor ensures accurate flame detection, leading to a more consistent and efficient operation of the water heater. It’s like giving your water heater a performance boost.

