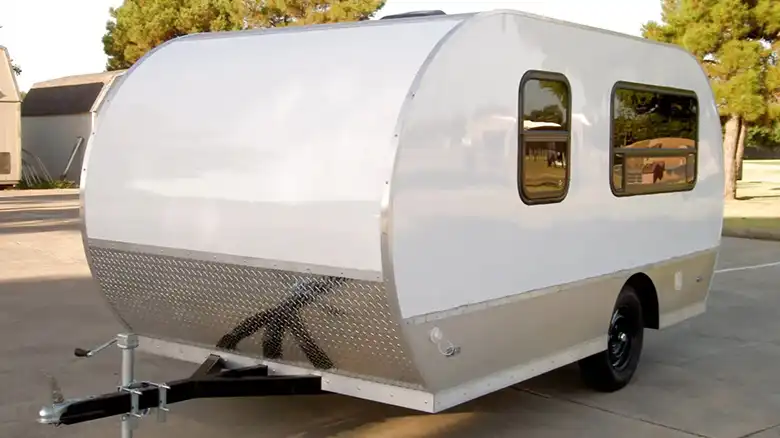
One heavy-duty chassis I know extensively from getting quite familiar underneath while working on them is the Chevy P30. Equipped with a strong V8 engine, the P30 makes an excellent platform for large campers and coaches. However, some owners report issues with the parking brake system. That’s because the P30 utilizes an internal star wheel manual adjuster deep within each brake drum to alter tension.
In this article, I’ll use my experience to explain adjusting P30 parking brakes in depth.
How to Identify When Your Parking Brake Needs Adjustment
Before hitting the road for any lengthy trip towing my trailer, I always inspect the P30’s brake components. Warning signs like the parking brake lever requiring excessive travel or force to engage alert me that adjustment is needed to restore proper performance. Hearing squealing brakes or detecting a burning odor also informs me it is adjustment time.
With that being said, let’s now dive into how I go through the adjustment process of the Chevy P30 parking brake system.
Step 1: Prepare the Tools and Safety Gear
Prior to jacking up the P30 for brake access, I take necessary safety precautions like chocking the wheels and preparing my workspace. I ensure I have my toolbox stocked with common hand tools, brake cleaning spray, lubricant, gloves, and eyewear. Sturdy jack stands rated for the vehicle’s substantial size are essential, along with wheel wedges for extra security while underneath.
Step 2: Access the Brake Components
The P30 utilizes an internal star wheel manual adjuster deep within each brake drum to alter tension. Getting to them starts with removing the rear wheels using my impact wrench. I then hose down the backing plates and surrounding areas thoroughly with brake parts cleaner to prevent contamination before returning the wheels for drum access later.
Step 3: Rotate the Brake Drums for Adjustment Access
With the wheels reinstalled hand tight, I carefully rotate each brake drum to reveal the nearly hidden star wheel adjustment portal located at roughly the 4 o’clock position internally. I take care not to disturb the delicate inner brake components now exposed through the small port. With the opening aligned, I insert my adjustment tool.
Step 4: Adjust the Star Wheel to Set Tension
Before touching the adjusters, I ensure the vehicle is off and the key is in the “accessory” position to unlock the steering. From there, with light outward pressure on the tool to match the star wheel’s tension, I begin meticulously rotating it while frequently checking the parking brake lever responsiveness. I turn the adjuster wheel incrementally clockwise until noting the precise point at which the parking brake lever halts the drum rotation completely when pulled.
Step 5: Test the Adjustment and Fine-tune
When properly adjusted to factory specifications, the parking brake lever will securely hold the drum from spinning. At this point, the adjustment is likely near complete, but I still may tweak it ever so slightly while repeatedly testing the brake lever feel and lock capabilities. If over-tightened, the brake components risk damage, so very small final star wheel increments are advisable.
Step 6: Repeat the Process on the Other Side
I work carefully but efficiently to ensure I don’t disturb the finely tuned adjustment I’ve achieved thus far. After dialing that brake in, I move around and repeat this entire process on the passenger rear drum brake as well for consistent performance.
Step 7: Final Testing and Brake Operation Check
With the adjustment procedure fully carried out on both P30 rear brake systems, I reinstall the wheels, double-check all fasteners, and lower my Chevy down. Before considering the project complete, however, actual brake testing to confirm smooth engagement and disengagement is essential. I find an isolated area like an empty parking lot to safely conduct these last quality control stops.
End Notes
While most rear brake adjustments I tackle succeed without issues, more significant problems occasionally arise requiring a visit to my trusted professional RV mechanic’s shop instead. But overall this method has never let me down gaining virtually brand new parking brake function on multiple P30 motorhomes over the years.
FAQs
How frequently should P30 parking brakes be inspected and adjusted?
I recommend checking the system over thoroughly at least yearly. Adjust sooner if braking problems occur.
Will adjusting the parking brakes impact other brake components?
When restored properly to factory specs, it should only enhance P30 stopping power.
What tools do I need for DIY adjustment?
Common hand tools, wheel chocks, jack stands, brake cleaner, lubricant, and safety gear at a minimum.