Securing my RV shower walls against leaks is critical to avoid issues like mold or rotten floors down the road. I want to protect my investment. In this guide, I’ll walk through popular waterproofing options to tackle this project, detail the process to apply them, and provide extra tips to maintain efficacy over time. I aim to equip readers with the knowledge to pick the best solution for their shower space and budget.
Essential Waterproofing Solutions for RV Shower Walls
When it comes to waterproofing your RV shower walls, a mix of preventive measures and reliable products is key. Here are some of the most effective solutions:
1. Install Waterproof Panels or Liners
Waterproof panels like fiberglass or acrylic liners are an excellent choice for RV shower walls. They’re lightweight, easy to install, and provide a seamless, water-resistant barrier.
2. Use Waterproof Paint or Coatings
Specialized waterproof paints or coatings, like epoxy or marine-grade sealants, can add an extra layer of protection to your existing shower walls. These products are designed to withstand constant exposure to moisture.
3. Seal Joints and Edges
Using silicone or waterproof caulk to seal the joints, edges, and seams in your RV shower can prevent water from seeping through gaps, which are common areas for leaks.
Top Methods to Waterproof Your RV Shower Walls
There are various approaches to waterproofing RV shower walls, depending on your budget and preference. Below are some of the top methods:
1. Adhesive Shower Wall Kits
These pre-fabricated kits come with peel-and-stick panels that are water-resistant and easy to install. They are perfect for quick upgrades and offer excellent durability.
2. Installing Plastic or PVC Panels
Plastic or PVC panels are highly resistant to moisture and are a cost-effective option. They can be cut to size and securely adhered to the walls, creating a watertight surface.
3. Applying Waterproof Membranes
For long-term protection, apply a waterproof membrane beneath tiles or panels. This layer acts as a shield, preventing water from penetrating the underlying materials.
By integrating these methods, you can ensure a leak-free and durable RV shower setup that lasts for years.
Step-by-Step Guide to Waterproofing with Sealants, Tiles, and More
There are several effective solutions to waterproof your RV shower walls. Let’s discuss the benefits and considerations of popular options:
Sealant and Caulks
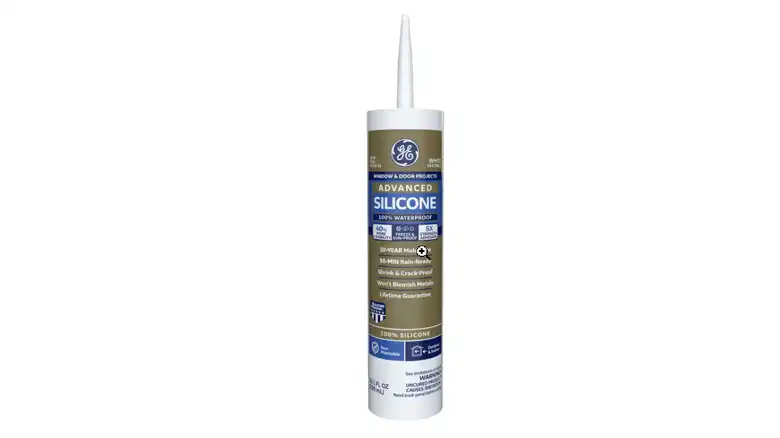
Sealants and caulks are a good option for waterproofing RV shower walls. Silicone sealant can be used for its flexibility, water resistance, and long-lasting abilities. It is great for sealing up seams, joints, corners, and gaps where water could penetrate. Polyurethane caulk is another waterproof choice that is also flexible with good adhesion abilities. This makes it useful for filling and sealing any cracks or gaps in the shower walls. Using quality sealants and caulks allows you to waterproof by sealing up potential problem areas.
Some benefits are –
Inexpensive – caulks cost less than full wall treatments
Easy application – smooth on with basic tools in under an hour
Good for minor sealing – fills cracks and gaps to direct water away
However, caulk alone does not offer comprehensive protection for whole shower walls. It is more of a supplemental solution.
Tiles
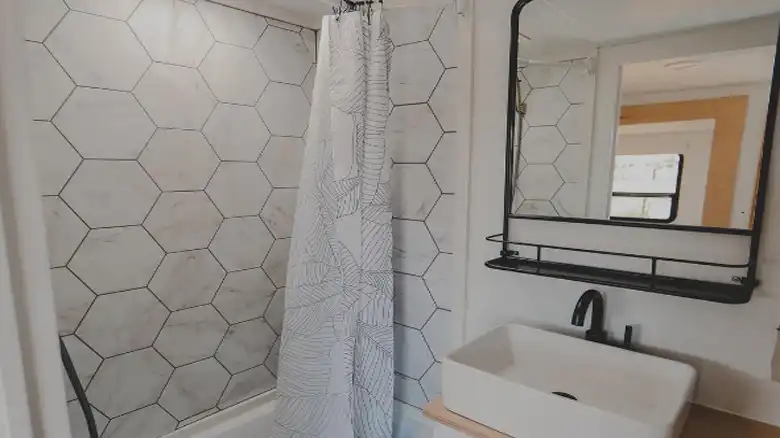
Installing tiles is a protective surface layer that can waterproof your RV shower. Ceramic, porcelain or stone tiles have inherently water-resistant properties. When installed properly with the right waterproof grout, they create a water barrier to protect shower walls underneath. Often a water-resistant backerboard will need to be applied first to provide support for the tile and an additional waterproof base. The tiles protect the walls themselves while the grout and backerboard seal up seams and prevent moisture penetration.
Benefits include:
Attractive finish – range of styles like subway tile, mosaics, etc.
Customizable patterns – get creative with layouts and designs
Durable surface – ceramic and porcelain tiles stand up well to water
Low maintenance – simple to keep clean
However, RV movements may cause grout and tile cracking over time. Professional installation is also advised.
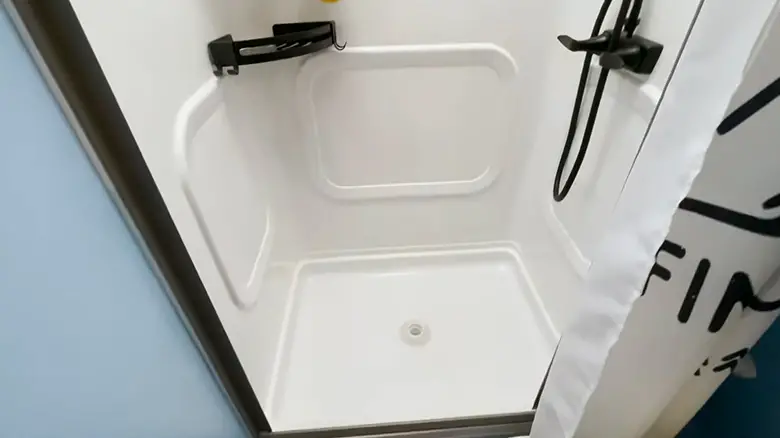
Wet Wall Panels
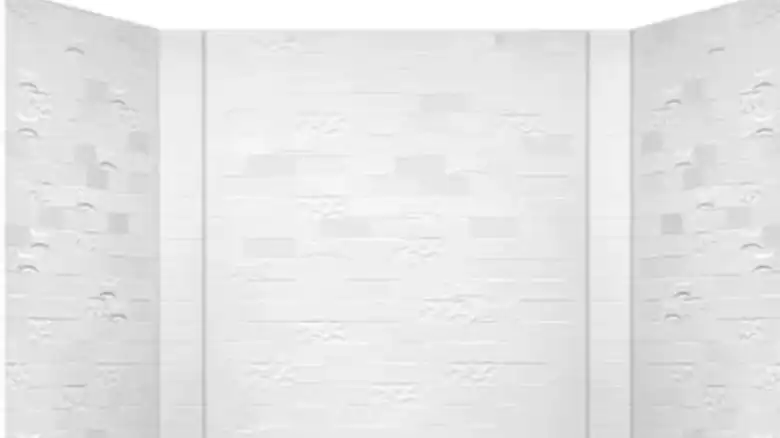
For a convenient waterproof covering, prefabricated wet wall panels can be installed over existing shower walls. They come in PVC (Polyvinyl Chloride) or other waterproof composite materials with water-tight joints integrated into the panels.
Specialized acrylic or polymer panels designed for wet areas offer robust protection:
Waterproof rated – impervious core prevents water intrusion
Quick DIY install – lightweight panels adhere directly to walls
Seamless and jointless – no grout lines or gaps for leaks
Affordable option – competitive cost versus tile
But may not withstand extreme temperature changes as well as other materials.
Cement Board
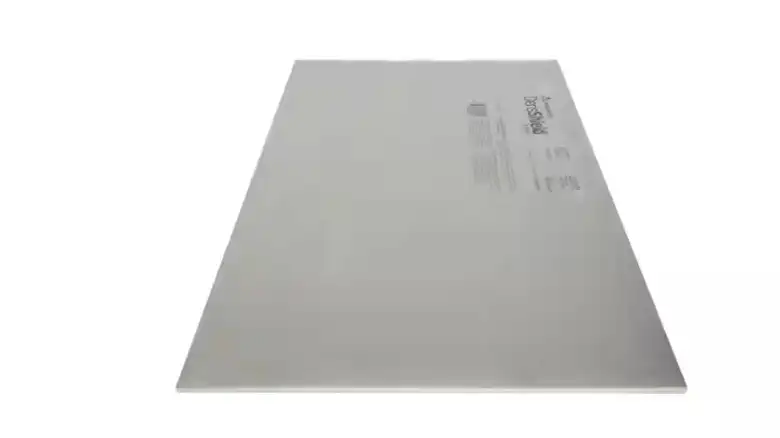
The cement board provides a waterproof base layer prior to adding finishes like tile. It is a stable cement and fiberglass composite panel that can stand up to a wet environment.
Cement board backer builds an extremely water-resistant underlayer:
Superior moisture protection – waterproof core stops leaks
Tough and durable – retains integrity despite vibration or movement
Ideal backing for tile – prevents cracks in tile or grout Better insulates walls
Heavier to install – may require additional wall support
An extra step that requires a finished wall surface on top.
Wetroom Tanking Kit
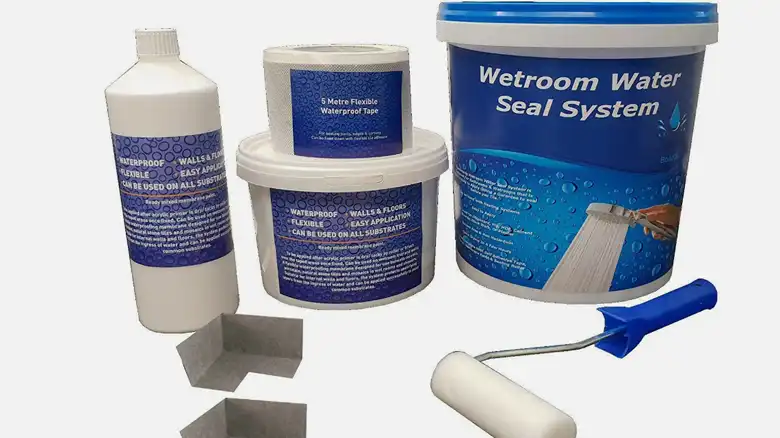
For a reliable tanked waterproofing system, a full wetroom kit creates multiple water barrier layers. It comes with drainage channels, waterproof adhesive membranes, boards, and all components needed to seal up an RV wetroom shower.
Benefits include –
Fully waterproof barrier – impenetrable to water under pressure
Bonds to many surfaces – ceilings, floors, complicated layouts
Customizable tanking options – sheets, compounds, paint-on solutions
Expensive – highest initial cost option
Long cure times – installations can take 2-3 days
This professional-grade solution requires expertise to install correctly.
DIY Techniques to Keep Your RV Shower Dry
Properly waterproofing your RV shower walls is crucial to prevent leaks, mold growth, and structural damage. Follow these procedures carefully depending on your chosen waterproofing method. Always start with clean, dry walls for good results.
Sealant and Caulks
Applying waterproof silicone or polyurethane caulks and sealants is an effective RV shower waterproofing method. Start by thoroughly cleaning the shower wall surfaces and removing any loose materials or debris.
Step 1
Identify all seams, gaps, joints, corners, and any cracks in the walls that could allow water intrusion. Carefully inspect where walls meet, wall connections, plumbing openings and fixtures, window and door frames, and along textured areas. Check for cracks wider than 1/8 inch.
Step 2
Carefully fill and seal these areas with a continuous smooth bead of your chosen sealant. For best results, use a silicone or polyurethane caulk designed for showers and wet areas. Apply enough sealant to fully pack the gaps, smoothing the bead with a plastic spreader or finger.
Step 3
Use enough sealant to fully pack the gaps. For cracks, ensure the sealant penetrates deeper than the surface. Caulk should fill joints and seams fully without air pockets. Follow manufacturer recommendations for application thickness.
Step 4
Allow proper cure time based on product instructions before using the shower, typically 24-48 hours. The sealant will skin over within minutes but needs longer to fully set up waterproof abilities. Setting time allows sealants to form a water-tight barrier.
Step 5
The sealed gaps, joints, and seams will prevent moisture penetration through the walls once fully cured. Check for any cracks in the caulk seal after a few weeks and re-apply if needed. Properly applied sealants keep water out of the wall interior.
Tiles
Tiling RV shower walls takes a multi-step installation process for best waterproofing capabilities.
- Install cement backer board over the wall framing following manufacturer guidelines for spacing and fasteners.
- Lay out the tile pattern and make any necessary cuts.
- Apply a thinset mortar suitable for wet area tile installation.
- Press tiles into the thinset and use spacers to achieve even grout line spacing.
- Allow tiles to be set according to thinset guidelines before grouting.
- Apply waterproof epoxy grout between tile seams.
- Clean off excess grout and allow full cure time before use.
Wet Wall Panels
Prefabricated wet wall panels make waterproofing straightforward by adhering them to existing RV walls.
- Take measurements and cut panels to the size needed to cover all wall surrounding areas.
- Thoroughly clean and dry the installation area.
- Apply adhesive evenly across the entire backside of the panels.
- Carefully mount panels directly onto walls, pressing firmly across all areas.
- Use a plastic smoother to flatten panels and remove any air bubbles or gaps.
- Apply a continuous bead of bathroom-rated caulk to seal all seams between panels.
- Allow the caulk to fully cure based on manufacturer directions before use.
Cement Board
Installing cement board makes RV walls ready for waterproof finishes. Measure and cut boards to fit wall framing.
- Measure and cut cement board sheets to fit the wall framing.
- Install boards over framing with proper cement board screws and spacing.
- Embed alkaline-resistant tape over seams into a layer of mortar.
- Feather out mortar to create a smooth transition once dry.
- Seal gaps around fixtures or accessories with thinset mortar.
- Allow mortar mudding to fully cure before applying finishes.
Wetroom Tanking Kits
Wetroom tanking kits require methodical installation but result in reliable waterproofing. Follow all kit directions precisely, including preparing surfaces.
Prime the surface: Apply a primer coat to the shower floor and walls using a brush.
Apply tanking tape: Use tanking tape to seal all the joints, corners, and around the drain. Overlap the tape strips to ensure complete coverage.
Apply the tanking membrane: Paint two coats of the liquid tanking membrane onto the entire shower surface, including the floor, walls, and around the drain. Apply each coat in perpendicular directions (horizontal and vertical) for better coverage and thickness.
Best Practices for RV Shower Wall Maintenance
Waterproofing your RV shower walls does not have to be difficult or expensive. With the right materials and techniques, you can save thousands in potential water damage costs while still enjoying the convenience of your camper’s shower.
- Check walls regularly for leaks, cracks, and damage – address them promptly to prevent bigger issues
- Use non-abrasive cleaners – avoid harsh chemicals that degrade waterproof coatings
- Improve ventilation – prevent moisture buildup that promotes mold or mildew
- Reapply protective treatments annually – maintain effective waterproofing over time
- Get professional repairs when needed – some leakage issues require specialty expertise
In Closing
properly shielding RV shower walls preserve their integrity for years of continued use. I presented solutions ranging from affordable sealants to robust wetroom barrier kits based on needs and skill level. By regularly checking for damage, maintaining treatments, and getting professional help when required, readers can succeed in waterproofing their RV showers.