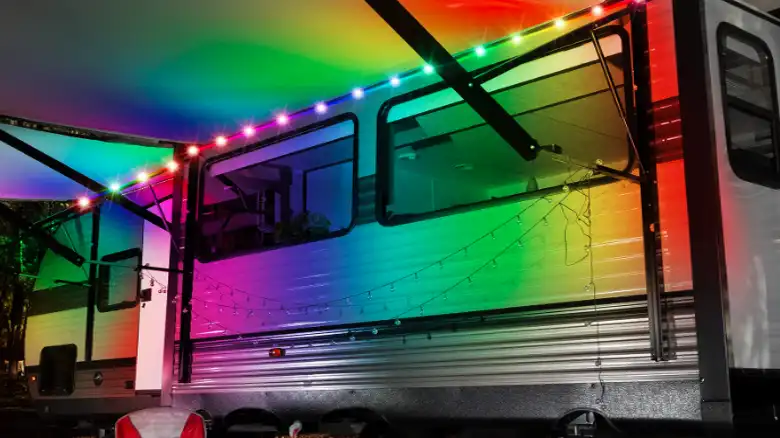
Adding LED strip lights to your RV awning is an easy way to decorate and illuminate your outdoor space at night. With just a few tools and materials, you can install lighting that will provide a festive glow for years to come.
This comprehensive guide will walk you through the entire process step-by-step.
Preparing Your RV Awning for LED Light Installation
Proper preparation is crucial for ensuring your new LED strip lights adhere and function properly. Here are the key steps:
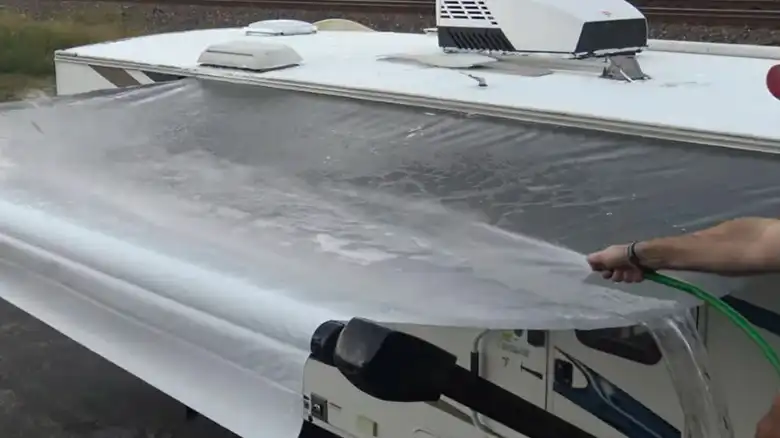
Thoroughly clean the installation area with soap and water. Use alcohol or another solvent if needed to remove all dirt, oil, and residue from the surface.
Measure the length of your awning and cut the LED strip to be 1-2 inches shorter on each side. Refer to the manufacturer’s guidelines on safely cutting the strip.
Mark a chalk line along the installation area to guide the tape placement. This could be a few inches under the roller on the RV body or along the awning edge.
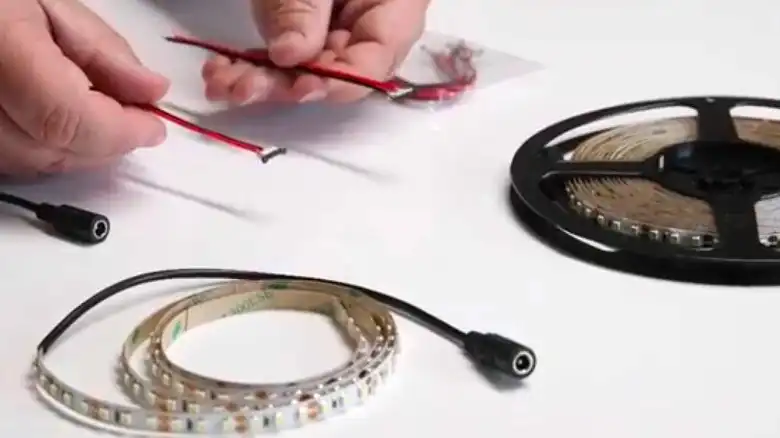
Gather any tools and materials needed – drill, screws, wire strippers, sealant, connectors, etc. Having everything handy will make installation smoother.
Allow the cleaned surface to completely dry before mounting the lights. Any moisture will impact the tape adhesion.
Once prepped, you’re ready to securely mount the LED strip.
How to Choose the Best LED Strip Lights for Your RV Awning
The first step is selecting the ideal LED strip lights for your awning and needs. LED strips come in a variety of options these days, so it’s important to consider a few key factors:
Weatherproof Rating – Since these lights will be outdoors on your RV, you’ll need to look for a strip with an IP rating (IP65, IP66, or IP67). This indicates the lights are designed to withstand dust, moisture, and even being submerged in water.
Brightness – The brightness of LED lights is measured in lumens. For general RV awning illumination, a strip with 400-600 lumens per meter is ideal. Brighter options up to 800 lumens per meter work well too.
Power Source – LED strips can be powered by plugging into an outlet, wiring to a 12V battery source, or connecting to your existing RV lights. Determine the best option for your setup.
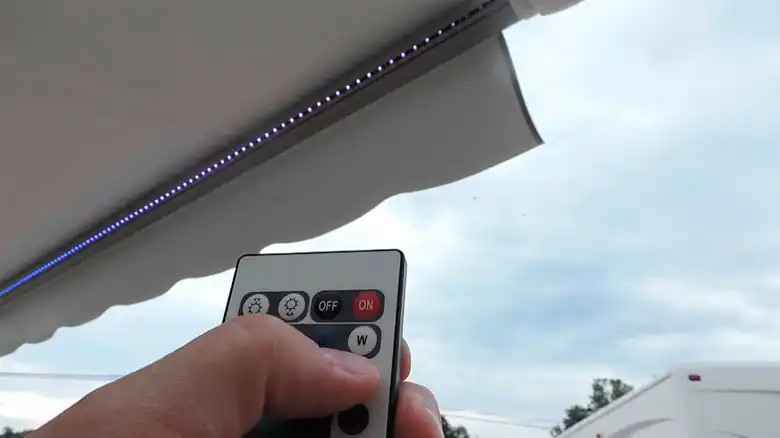
Special Features – Many LED strips have color changing abilities, music syncing, remote controls, and more. Decide if you want any fun extras before purchasing.
Precut Lengths – For easiest installation, you can order strips precut to the exact size of your awning. This avoids any risks of damaging the lights when cutting.
Once you select the perfect LED strip lights for your needs, it’s time to prep for installation.
Step-by-Step Guide to Mounting LED Strip Lights on Your RV Awning
Here are the step-by-step instructions for properly mounting your new LED strip lights:
- Adhere the provided mounting tape or outdoor-rated double-sided tape along the marked line. The strip of tape should be slightly shorter than the LED strip.
- Remove a small section of the backing paper from the tape. Carefully align the LED strip lights over the exposed adhesive.
- Press the strip down firmly to adhere that small section, being careful to keep the lights straight. Slowly remove more backing paper and continue pressing the strip into place.
- If placing the lights on the awning, ensure any wires will have enough slack when the awning is closed. Pinching the wires could damage them over time.
- Once aligned and adhered, apply waterproof sealant around the edges of the strip. This will prevent moisture from seeping under the lights.
Alternative Mounting Methods for LED Strips
An alternative way to mount the LED strip lights is sewing a sleeve into the edge of the awning fabric to contain the strip. This involves measuring and cutting a fabric strip slightly wider than the LED lights, hemming the edges, aligning and pinning it to the awning edge, then sewing it in place. Thread the LED strip through the open end of the sleeve, pushing it fully into the channel. Sew the ends closed over the strip ends, leaving the wires poking out. The LEDs will then shine through the awning fabric for an even lighting effect, while keeping the strip and wires neatly concealed.
Wiring, Powering, and Finalizing Your LED Strip Installation
The final steps are providing power to illuminate your new LED strip lights and tying up any loose ends:
- Connect the lights to the chosen power source – either an outlet, 12V battery wires, or existing RV lighting wires. Use outdoor-rated connectors and waterproof tape at all connections.
- For awning lights, neatly secure any excess wire lengths to avoid dangling. Conceal wires as much as possible for a clean appearance.
- Do a final test of the LED strip and make any needed adjustments before sealing up connections. Ensure all lighting and features work properly.
- Consider adding rope lights, solar lanterns, or other complementary lighting to create a festive atmosphere. Get creative!
- Bask in the glow of your new ambient LED awning lights and enjoy your illuminated RV oasis.
With the right materials, following these instructions, and taking your time, you can successfully install brilliant LED strip lighting on your RV awning. Just think of the vibrant, welcoming space you’ll have to relax in the evenings after a day of adventure.
Common LED Awning Lighting Questions Answered
Here are answers to some frequently asked questions about installing and using LED awning lights:
How are LED strips powered?
LED strips can be plugged into an outlet, wired to a 12V battery source, or connected to existing lights. Choose the best option for your RV setup.
Can I install lights myself if my RV is new?
If your RV is still under warranty, it’s best to get professional installation to avoid voiding the warranty.
How weatherproof do the lights need to be?
Look for an IP65, IP66, or IP67 rated LED strip light to ensure it can withstand outdoor conditions.
What if my LED strip gets damaged?
You can cut out and replace a small damaged section. Just be sure to reconnect the copper contacts with solder.
How do I clean LED strip lights?
Use a microfiber cloth with warm, soapy water. Avoid abrasive cleaners or excessive pressure which could scratch the plastic cover.
How long will LED lights last?
With proper installation and voltage usage, quality LED strip lights can last 5-6 years or longer before needing to be replaced.
Installing custom LED lighting along your RV awning provides both form and function. Not only does it create a stylish, inviting space, but it also supplies needed illumination for nighttime use. With the help of this step-by-step guide, you’ll be able to safely and efficiently install accent lighting that will improve your RVing experience.