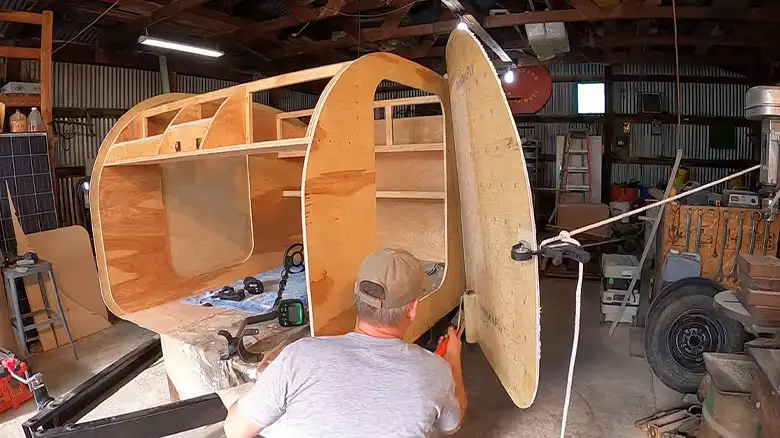
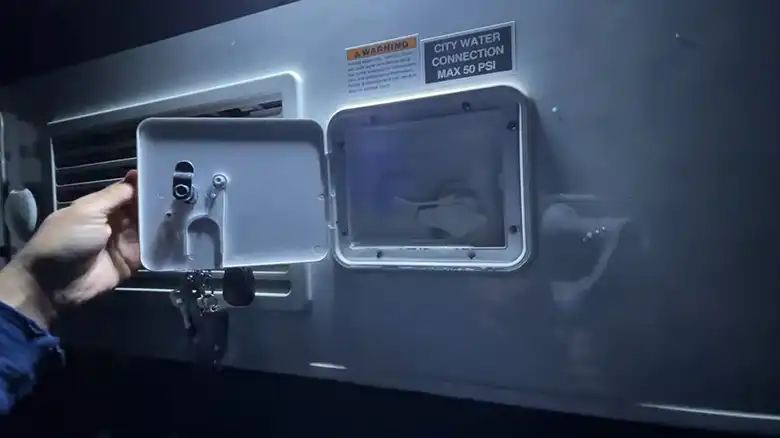
As an RV owner, I recently decided to upgrade the exterior siding on my camper. After some research, I chose lightweight yet durable Filon siding panels, also called fiberglass reinforced plastic (FRP).
In this article, I’ll walk through my experience installing these panels using the right adhesive products.

What is Filon Siding?
Filon siding is made from polyvinyl fluoride and reinforced with fiberglass strands. It stands up well to weathering, resists fading, and has a nice smooth finish. I chose Filon because it’s much lighter than wood or metal sidings. This helps my RV’s fuel efficiency. The material is also easy to maintain. With a wide range of color options, I knew Filon would give my camper the upgraded look I wanted.
Preparing for Your Filon Siding Installation
Before starting this project, I gathered the necessary supplies – Filon sheets, furring strips, exterior-grade adhesive, screws, sealant, and tools like a tape measure, razor knife, and drill.
I thoroughly cleaned the existing siding on my RV to remove any dirt, oil, or debris that could impede adhesion. After washing, I let the surface dry completely. I marked some guiding lines with a chalk line to keep the sheets aligned during installation.
Choosing the Best Adhesive for Filon Siding
Selecting the best adhesive was an important decision. Contact cement or construction adhesive designed for exterior use both work well. I opted for Loctite PL Premium as it bonds strongly and suits both porous and non-porous materials like vinyl and fiberglass.
How to Apply the Adhesive Correctly?
Working methodically, I used a paint roller to spread an even layer of adhesive onto the back of the Filon panels and the prepared RV wall. Following the product directions closely, I let it dry to a tacky state before carefully aligning and pressing the sheets against the wall. I used a J-roller to firmly adhere to the entire surface.
For best results, the adhesive coverage should be smooth and complete. Uneven applications can lead to weak bonding and bubbles underneath that show through the material.
Mounting Filon Siding and Finishing Touches
Once aligned, I drilled pilot holes and used stainless steel screws placed 16 inches apart to securely fasten the sheets along with furring strips. Finally, I trimmed any excess Filon edges with a utility knife before sealing all around the perimeter with durable caulk.
After allowing proper cure time, the Filon sheets can be prepped and painted to achieve the desired look. Maintaining the upgraded siding is easy – I simply wash it periodically with soap and water.
My DIY Filon installation took effort and attention to detail, but the sleek new exterior was well worth it!
Frequently Asked Questions About Filon Siding Installation
Is hot glue suitable for installing Filon?
Hot melt adhesives don’t work well for DIY installs. The equipment needed to heat and apply it is meant for industrial use.
Can I use regular household glue?
No. For exterior applications like RVs, specially formulated waterproof adhesives are required for a durable bond.
How long will the installation take?
Plan on a full 2-3 days – sufficient time is needed for careful surface prep, proper adhesive drying, mounting the panels, and sealing. Rushing can ruin panels or weaken adhesion.
I hope covering my hands-on experience with advice helps anyone looking to upgrade their RV with long-lasting Filon siding. Let me know if you have any other questions!


Нужно найти информацию о пользователе? Наш сервис предоставит детальный отчет в режиме реального времени .
Воспользуйтесь продвинутые инструменты для поиска цифровых следов в открытых источниках.
Выясните контактные данные или интересы через автоматизированный скан с гарантией точности .
актуальный глаз бога
Бот работает с соблюдением GDPR, обрабатывая общедоступную информацию.
Получите детализированную выжимку с геолокационными метками и списком связей.
Попробуйте надежному помощнику для исследований — точность гарантирована!
Your comment is awaiting moderation.